Are you still stuffed full of Thanksgiving treats? Same here!
Despite all of my resolutions to not eat too many of my little momma’s fabulous sweet potatoes and dressing, I caved like a sink hole before we even made it past the appetizers. If only my folks were terrible cooks I wouldn’t have to swim a few extra miles at the YMCA tomorrow. (You didn’t really think I would say today did you? I’m not sure my swim suit would even fit around my belly today!)
Ok…ok… enough chit chat. On to my real topic of conversation for today.
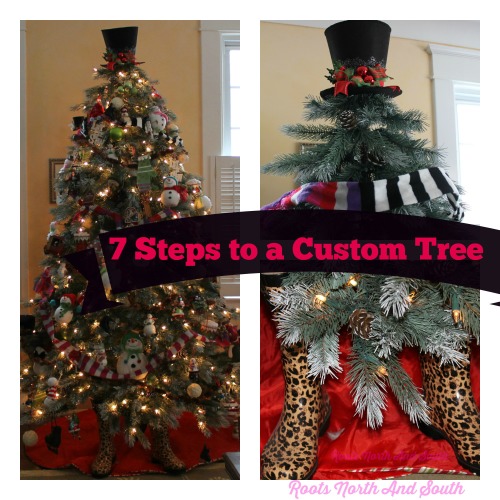
7 Steps to Creating a Christmas Tree You Love
Over the years, I’ve been fortunate enough to have a few friends who are paid professionals share their holiday tree tips with me. My best friend from high school paid much of her way through a very expensive graduate school by decorating some of the most exclusive homes in southern California for the holidays. I picked up more than a few tips (and gossip!) from her.
And I have a couple of friends that owned a fantastic floral business locally that also offered home holiday decorating services. They are geniuses with garland and lights!
The remainder of the tips are ones I’ve picked up from my love of holiday decorating… the trial and error process!
The Pre-Tree Work
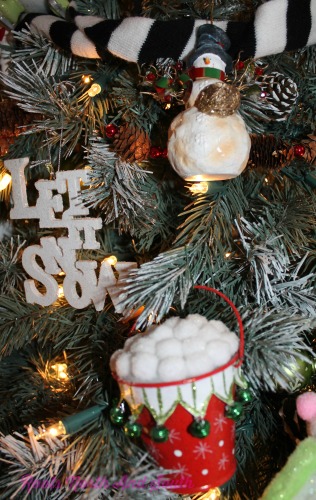
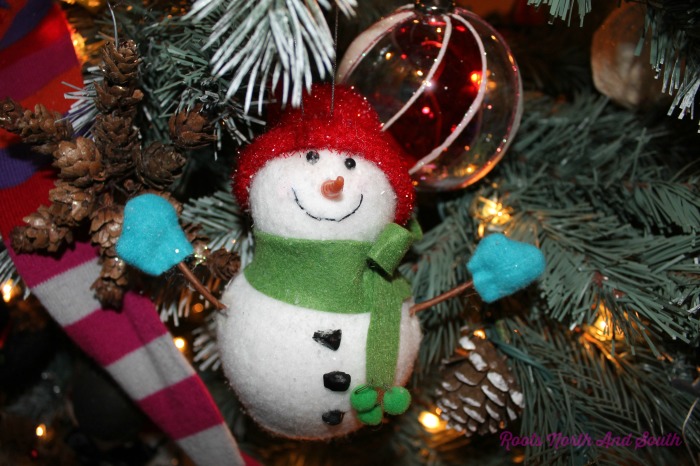
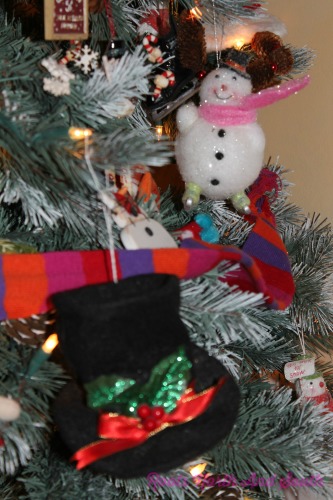
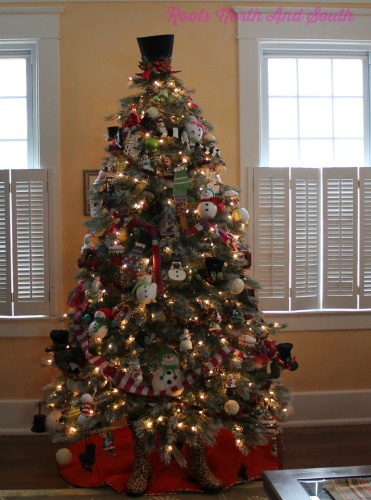
My first suggestion is to pick a theme. For our main family living area tree, the theme is Let It Snow. The tree is packed with snow people, skates, mittens, sleds, hats, and snowballs. I try to balance having small, medium and large ornaments. I also have a few extra large ones just for giggles.
Our Let It Snow Theme is just plain fun!
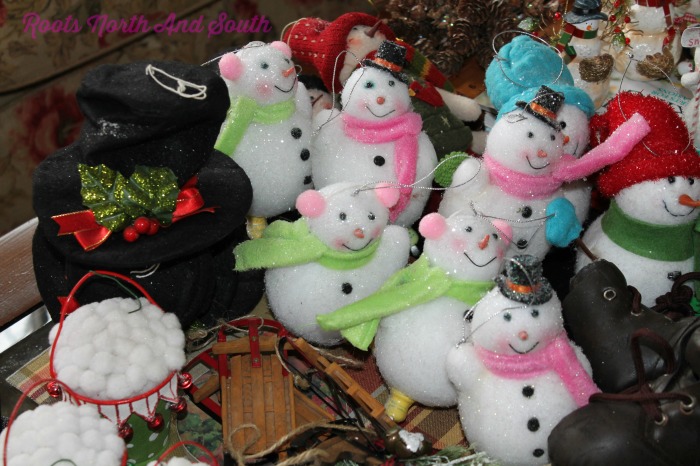
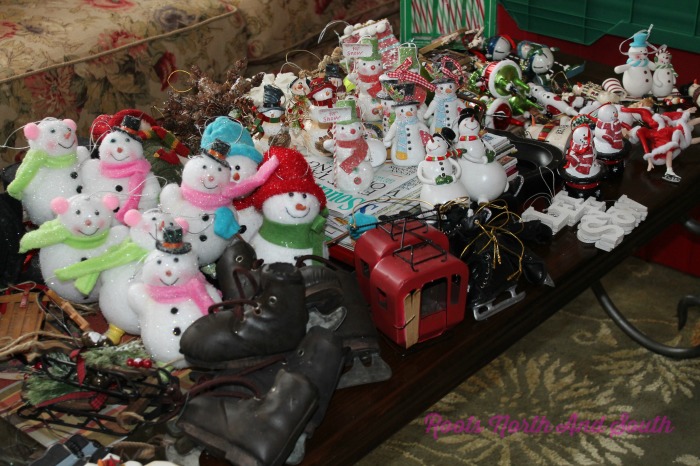
The next step is fun for about 3 minutes and then its just drudgery. I unwrap each of my ornaments and group them together by style and size on the coffee table. Even though it feels like a painfully long process for she who is short on patience… it really helps when you are trying to figure out what to put where on the tree.
Finally! Let’s decorate this beauty!
Creating Your Masterpiece Christmas Tree
Here’s how I put this all together….
Tip #1: Start with an awesome tree. Because I live in a historic district, we are encouraged to use artificial trees as they have a lower incidence of fire. Three years ago, I went on a hunt to find a new one. My criteria were: realistic, touch of “snow”, prelit (I know right?), branches that were ornament friendly, and it must have pine cones.
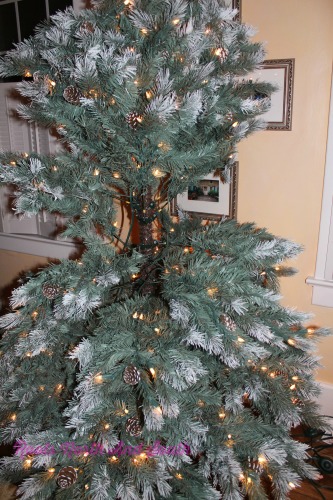
My tree is also extra special because my parents bought it. I had been dragging my little momma and sis along on my quest to find the perfect tree. A few days after I found “it” I ended up in ICU for a week. The start of a long illness and recovery. The tree was forgotten in all of the drama. One day after I was back home, my parents showed up at the house with the tree! We put it up together and enjoyed it all the more after everything our family had been through to get me home safe and somewhat sound.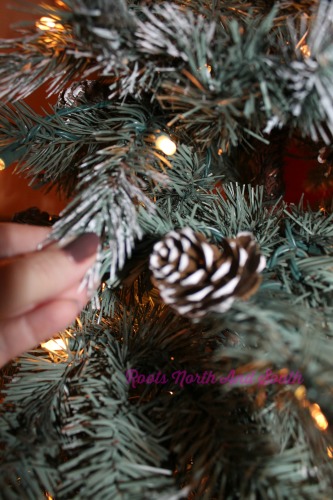
Tip #2: It’s gotta have twinkle. I hit the jack pot with my tree in that it had two sizes of lights AND a strand of twinkle lights around the “trunk” of the tree. Those are two of my all-time favorite lighting tips.
My Hollywood connection turned me on to the trick of adding a strand of twinkle lights in an “S” pattern around the trunk of the tree. That adds depth. You can do this with an artificial tree or a real one.
Before I found my beauty of a tree, I had also mastered the method pros use for wrapping lights around a branch. I was psyched to find Chelsea from two twenty-one on Pinterest. She clearly shares my fanaticism for tree lights. If your tree isn’t pre-lit, be sure to read this blog article!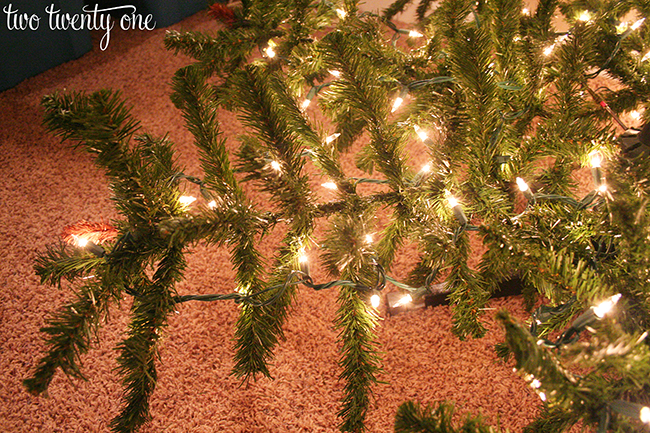
Tip #3: Take it from the Top. And Bottom. While I know some people do this last, I prefer to put my tree topper on next. Mine is a snowman’s top hat. I bought it at a Christmas store in northern Michigan a few years ago and just adore it! 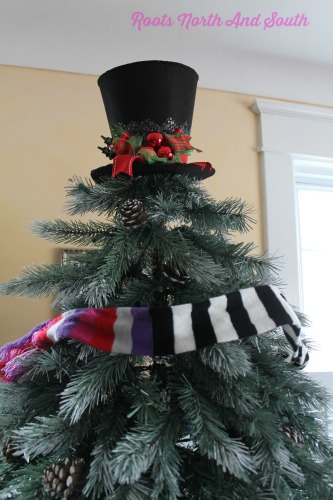
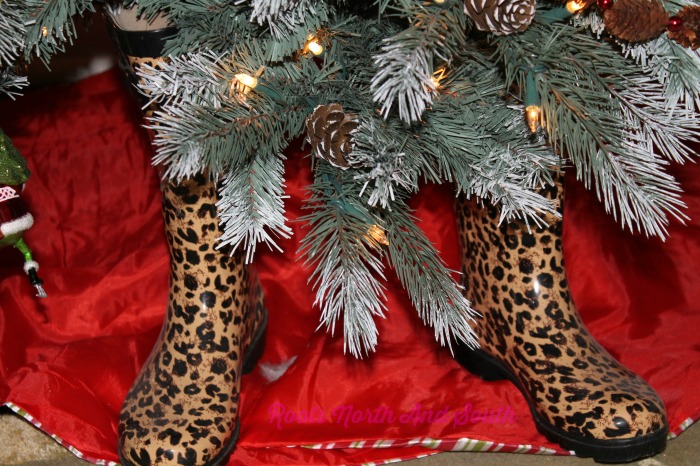
My tree also gets a pair of leopard boots at the bottom.
Once you have your tree fluffed up pretty, all the lights up, and the topper and boots set, the next step is garland. I have one garland I put on now and one that goes on a bit down the road. The first garland I put on my tree is actually a few winter scarves. I found them in the kid’s department. I bought every one they had left but always keep an eye out for a few more! These were thin enough that they work well as garland. For garland, I often use ornament hooks to help it hang better on the tree in some of those tricky places. And I know you know those places…
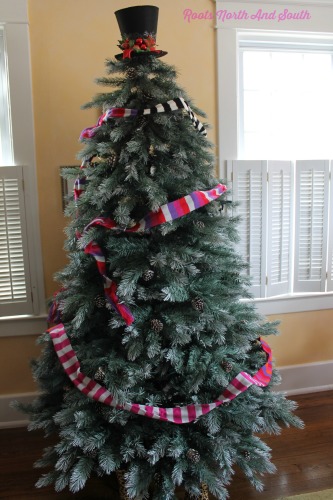 Tip #4: Add the base ornaments. Then I move on to begin hanging my base ornaments. For my tree, they are a combination of lime green solid balls, sleds, ice skates, and snowballs. Because I went through the tedious process of grouping them all together on the coffee table, it is easier to visually map out how many of each I have and divide them up around the tree.
Another trick is to hang shiny, solid color ornaments and larger ones toward the trunk on lower levels and smaller ones toward the trunk on higher levels. Like the twinkle lights, it helps to add depth.
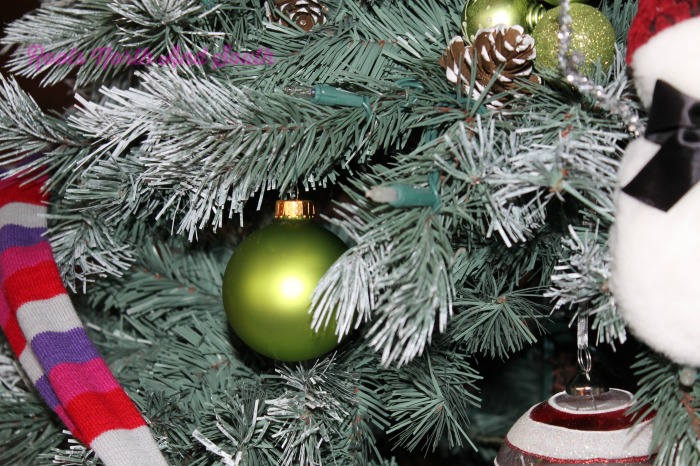
Tip #5: Finisher Garland. Once my base ornaments are on, I go back and add a smaller garland. In my case, it is one with small pine cones and glass berries. This is one I tend to use more of the ornament hooks on because it doesn’t always hang well on the tree.
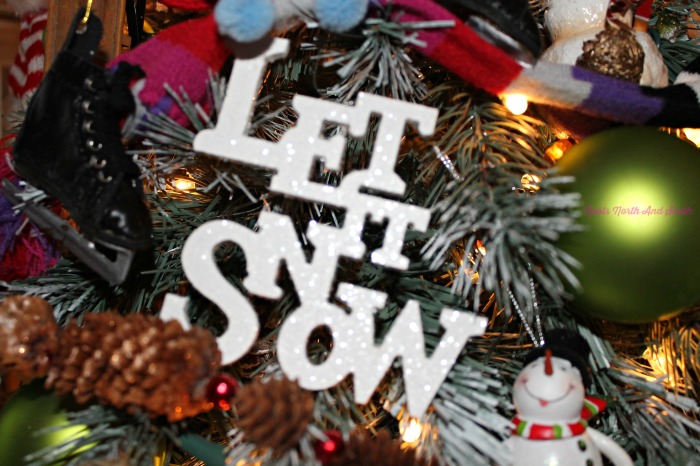
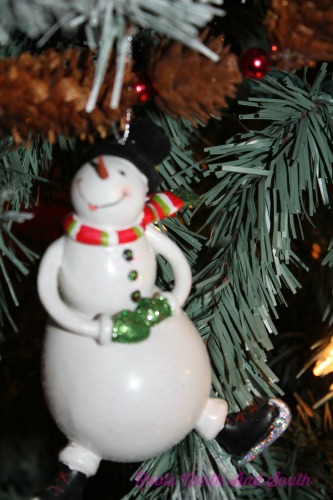
Tip #6: Add the Fun Ornaments. Finally the fun stuff!! I add the fun ornaments to my tree concentrating my favorites around eye level. This part takes some time. And to be honest…for at least the next week I find myself making little “tweaks.” I think it helps to have the tree lights on for at least this part of dressing the tree, too.
Tip #7: Cover it Up. Last step is to slip a skirt around the bottom of your tree to polish it off and hide those cords. Since my tree has fancy leopard boots, I stick with a plain red tree skirts. If your tree doesn’t have a pair of boots to work around, get yourself a fun and fabulous tree skirt!
Finished Christmas Tree Unveiled!
Ta-Da!
Here’s my finished tree! How much fun is that???
What theme are you working on for your tree? I’d love to hear about it…


Leave a Reply