A Bathtub Tray with My Pops
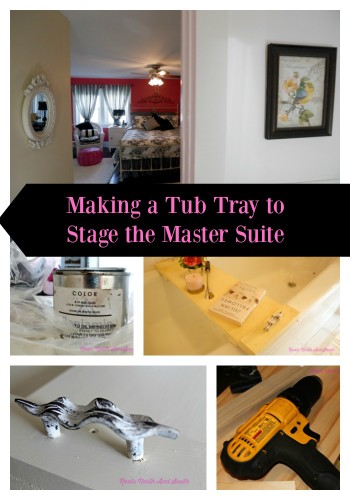
I took a few months off from my blog this winter and spring. We were busy getting the house ready to list and with lots of other things.
One of which was my Dad’s brother being admitted to hospice care. He’d been sick for a while and despite everyone’s best efforts, he wasn’t safe at home. So he was admitted to a fabulous inpatient hospice center just a few miles from my home.
It was just my Dad and my Uncle left from his family and my Pops took this news very hard.
During the six weeks my Uncle was being cared for in hospice, my Dad left home early each day, and drove the 30 minutes to hospice to help my Uncle with his breakfast and lunch. My cousin and my aunt would relieve him as soon as they were off work.
Day after day, six or seven days a week Pops made the trek.
During this time, we tried our best to keep my Pops close. We made up a list of projects we needed help with and some we thought up just to keep him busy.
Because I was trying to find ways to stage our house for selling, I decided I needed a tub tray. Then I started pricing the wooden ones on Etsy and other sites. Yikes! So I asked Pops if he thought we could make one. Of course his answer was YES.
How to Make a Bath Tub Tray
First, I had to measure the inside opening of the tub and then the outside edges.
The inside number is important for the braces we made to keep the tray from sliding right on off the tub….
After a trip to Lowe’s with Pops for the lumber and screws…and a quick stop at the craft store for handles…it was off to my parents house for production!
With the help of our trusty assistant, Sammie. (Photo was on my iPhone so it isn’t an accurate depiction of just how darn cute he is!)

Because ain’t nobody out there who knows me trusts me with a saw, Pops did all of the cutting.
We chose a piece of good cedar so it would hold up with the exposure to water and humidity. It is 9-1/2 inches across.
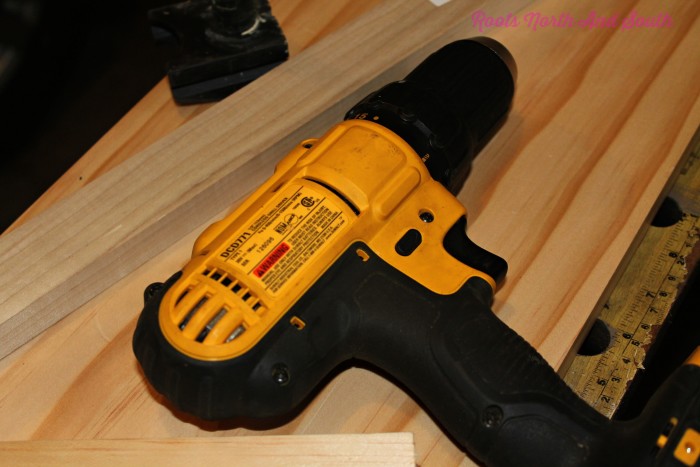
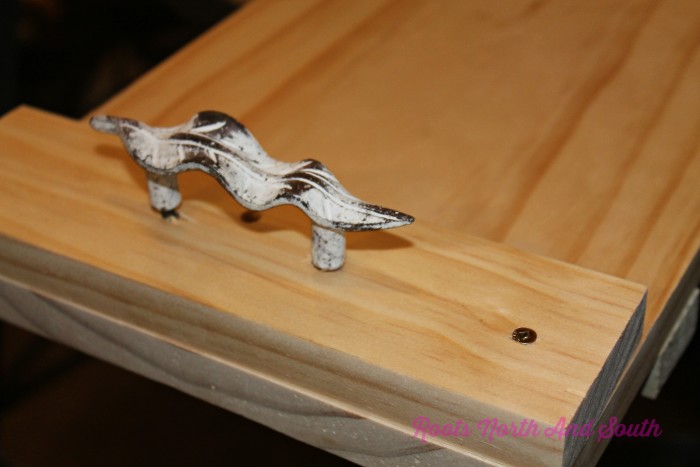
Pops did all the drilling… mostly just holes for the screws and for the hardware we were using as handles for the tray.
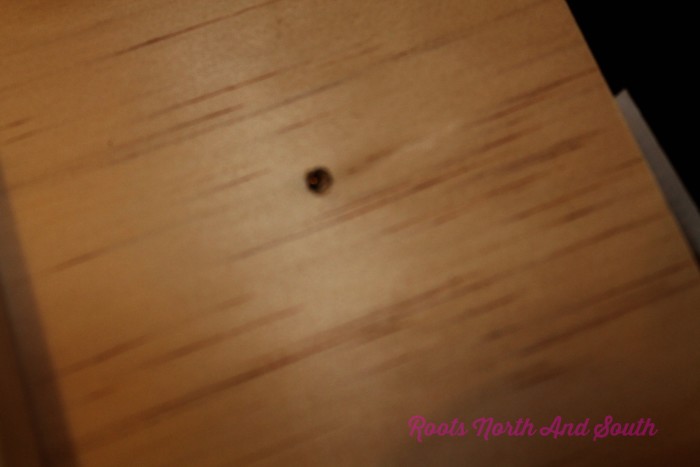
As I watched Pops saw and drill, the song “Daddy’s Hands” kept playing in my head… Man it is tough to watch our parents getting older isn’t it??
This picture (below) is the bottom side of the tray and these are the braces that go underneath to keep the tray in place on the tub.
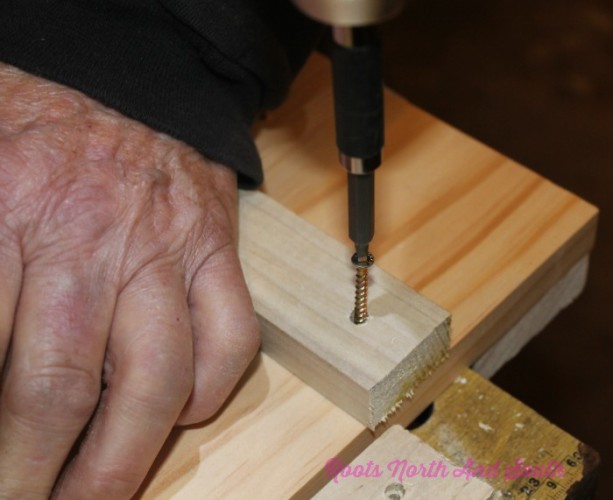
Just to give the tray a little extra something, we added a piece of the leftover wood at each end. It helped the handles stand out a bit. That piece is 3-1/2 inches wide.
I had some leftover Benjamin Moore primer from when Pops and I made my fabulous window boxes last spring. It’s great for repelling water and I thought it would help to use it on my tub tray.
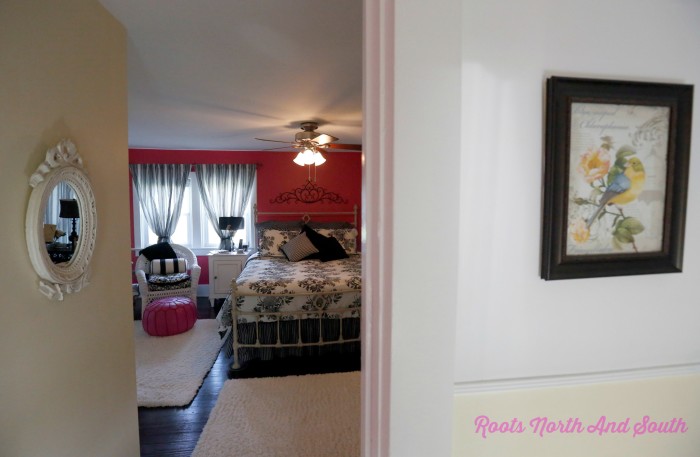
Except for one accent wall, the walls in the master are Sherwin Williams Jersey Cream. I’ve used it throughout the house and have never gotten tired of it.
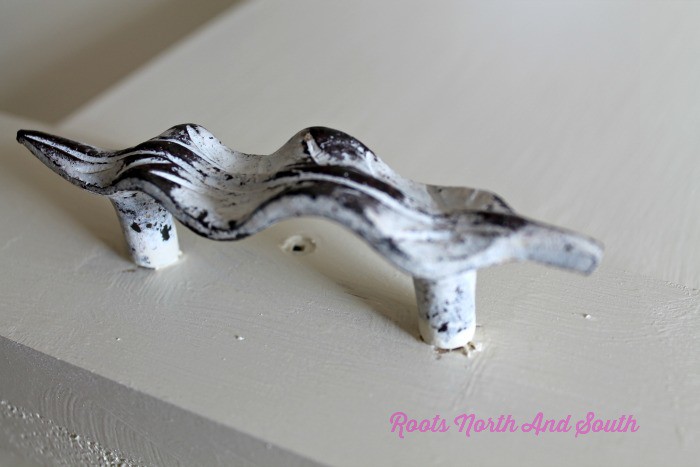
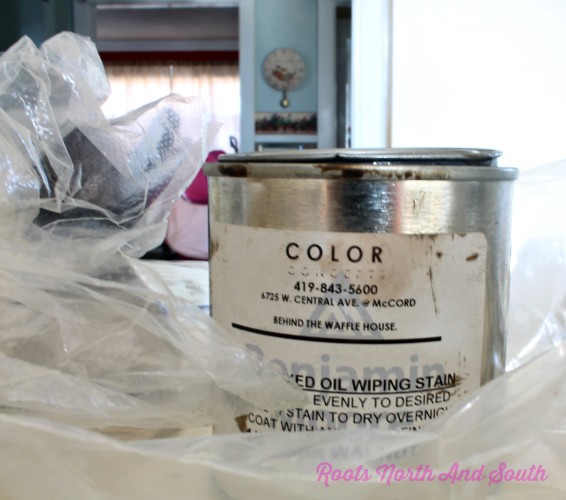
So the tray is a combination of Jersey Cream followed by a wiping stain I had left from another project in the kitchen.
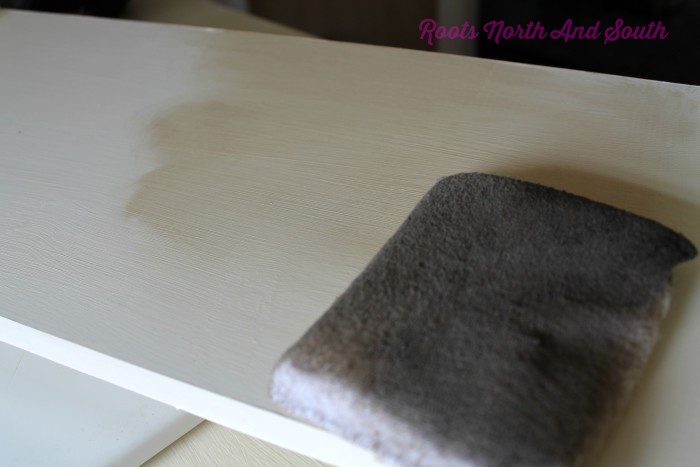
I was really happy with the finished project! And with the chance it gave me to spend some time with Pops…
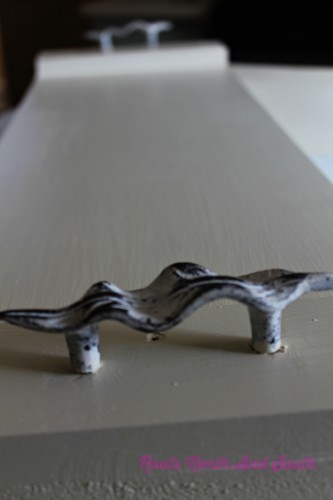
So for less than $30 I have a tub tray I love!!
Using a Wooden Tub Tray to Stage the Master Bath
I wasn’t really sure how much all of my staging efforts would matter. Turns out – quite a lot!
It was fun to hear the comments from people during our FSBO Open House!
Two of the five people who made offers on the house specifically commented on the “cozy tub area” in the master.
It’s a quirky old house space I will share soon on my updated (and final) home tour.
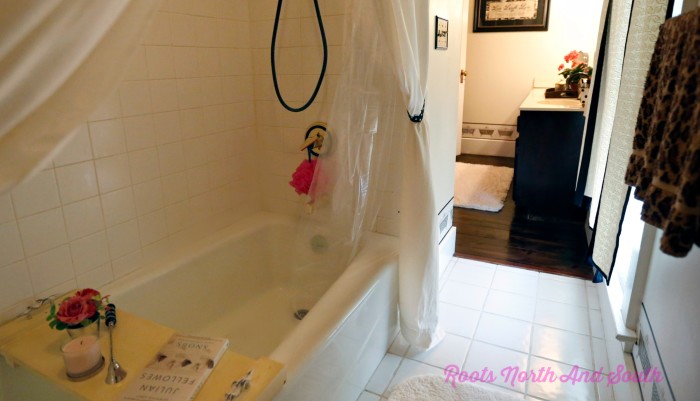
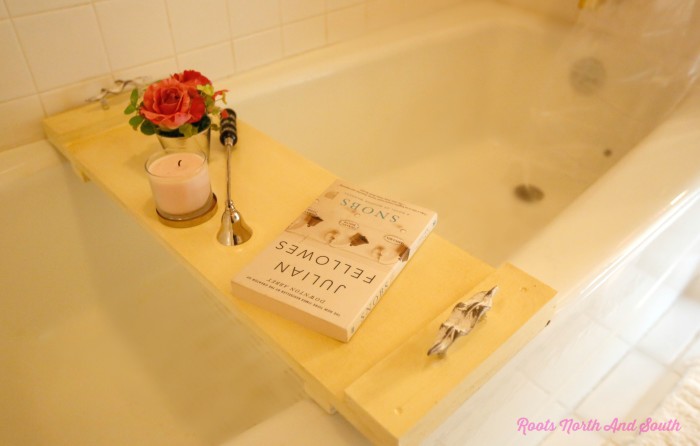
I’m hoping to enjoy a good lavender epsom salt soak a few times before we say “good bye” to our house this summer!
If you don’t already, come on over and follow me on Facebook and Pinterest! Pinning and sharing helps me grow my little blog…
I have more fun projects planned for the months ahead…
From my final room-by-room tour in this old house to a “from the ground up” journal of building our new house, I hope you will stay in touch!
XO
Shelley


Leave a Reply