Homemade dog treats. A new holiday tradition?
I discovered that one of our local animal shelters has a pet food bank!
They provide pet food to people who wouldn’t otherwise be able to afford an animal. Many of their clients have disabilities or are elderly. Like the rest of us, their furry friends are so very important to them.
Isn’t it cool that the shelter makes it possible for them to have a pet?
So I decided that a fun Christmas break activity to do with my favorite peeps would be for us to go to the pet store and buy food to help stock the pantry at the shelter. And to also make some homemade dog treats to take to the shelter with the food.
In researching recipes, we decided we needed to keep it simple. Especially after talking with the shelter.
Their development director mentioned that a lot of their clients were older, and so were their dogs and cats. So we wanted to use clean, healthy ingredients.
After prowling around (pun intended) a few sites recommended by veterinarians, we kind of cobbled together our own recipe.
Mixing Up Healthy Homemade Dog Treats
Here’s what we came up with…
Ingredients for homemade dog treats
3 to 3-1/2 cups of rolled oats (we used organic)
Pinch of salt
1 egg
1/2 cup reduced sodium, organic beef broth
1/4 cup reduced sodium, organic chicken broth
First preheat your oven to 325.
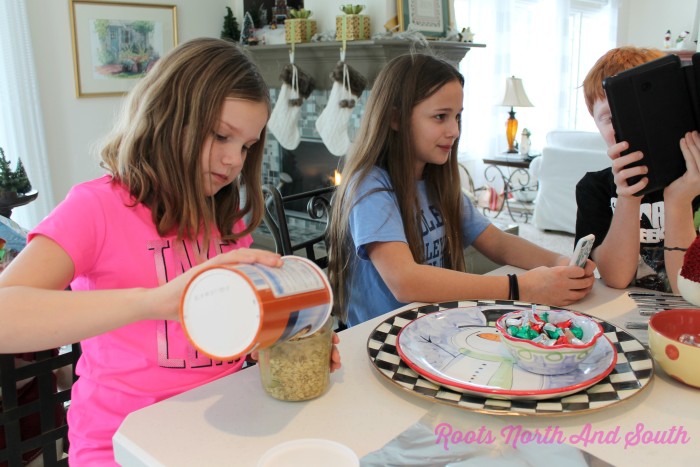
Combine 1 cup of the oatmeal with the egg and salt. Add the chicken broth.
Gradually add the remaining oatmeal and the beef broth. And gradually is important because it gets to be a little stiff and tricky to stir…
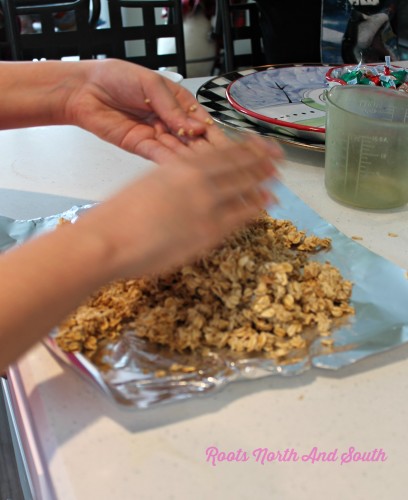
We ended up dumping the ingredients on to aluminum foil and “mashing” it all together…
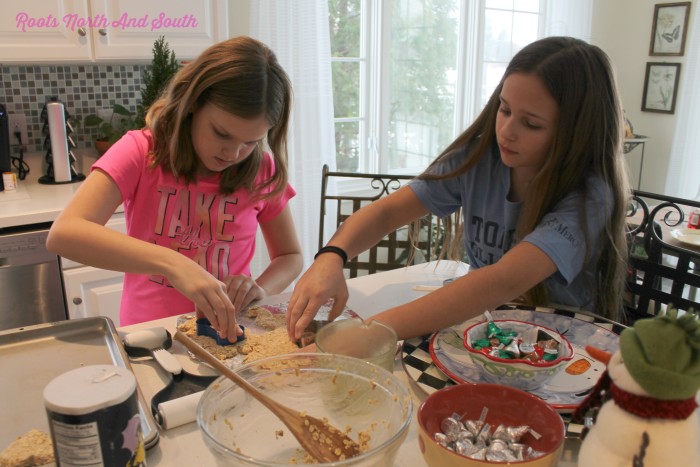
Then we used heart and bone shaped cookie cutters to create our masterpieces…
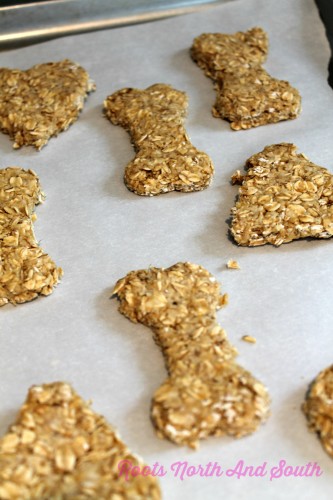
We put them on parchment paper-lined cookie sheets and baked them for about 20 minutes. We got about 4 trays out of this recipe. And there were 10 – 12 treats on each tray.
While the treats were baking, we got down to the serious business of decorating the containers we were taking the treats to the shelter in…
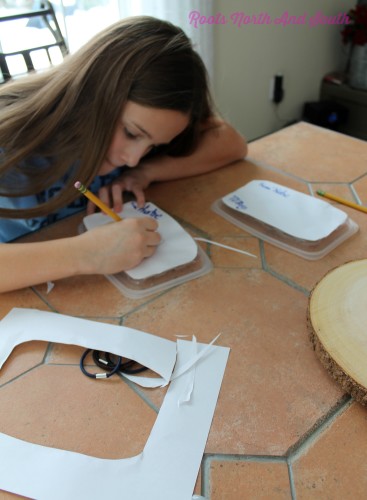
We popped 4 or 5 treats in to each little container… and put the decorated (and airtight!) lid on top.
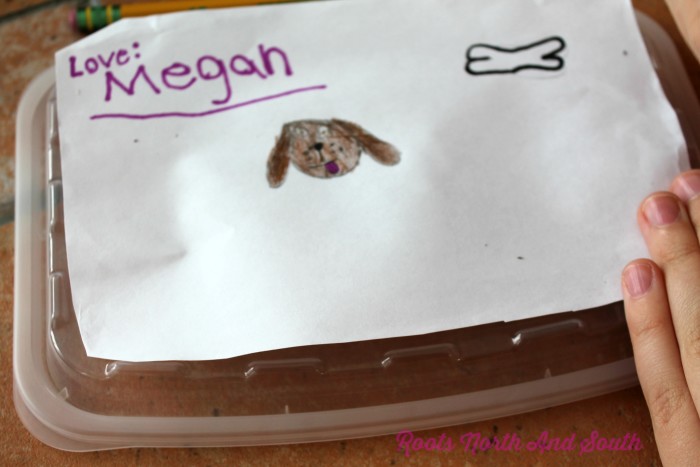
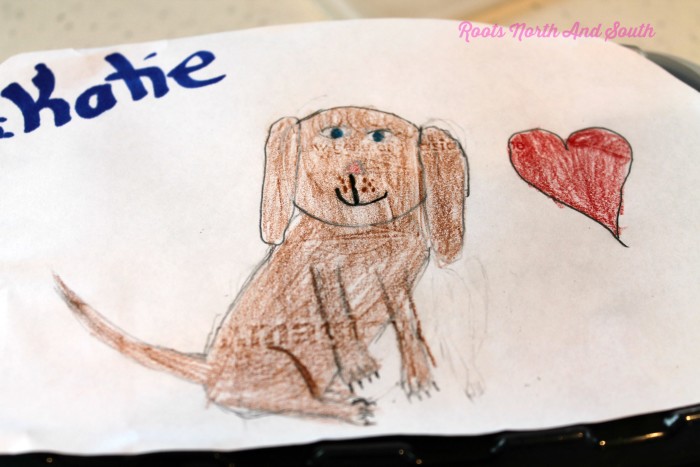
That’s all there is to it!
A fun afternoon project for a snowy day… I’m sure we will make these again soon.
Hope you and your favorite peeps enjoy it, too!
Until next time,
Shelley
p.s. Are we connected on social media? Please use the social media buttons on this site to follow me on Pinterest, Facebook and/or Instagram so we can stay in touch!!



Leave a Reply