Questions about our new pergola have been rolling in the last few months…
It’s been on my “Someday” list all summer to write a post about our new pergola.
We all have those Someday lists right?
Since I’ve been getting more and more email questions about the details, I decided Someday had arrived!
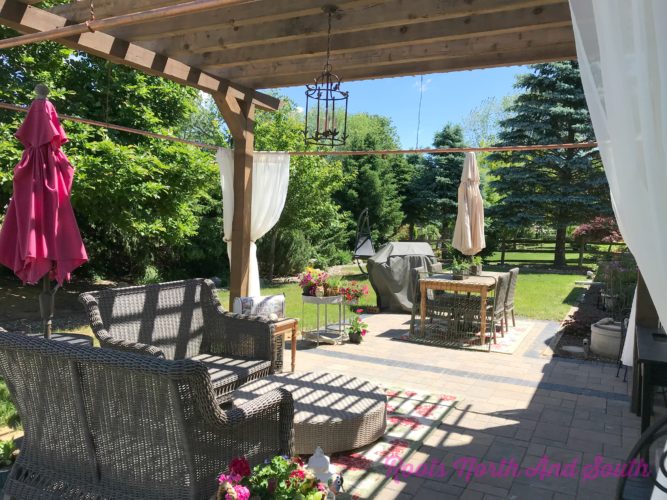
The contractors started this last spring with a deadline of Mother’s Day. We were assured it would be done well in advance of that date.
You’ve no doubt heard the same thing from a contractor somewhere along the line right?
Mother’s Day came and went. This is where we were…
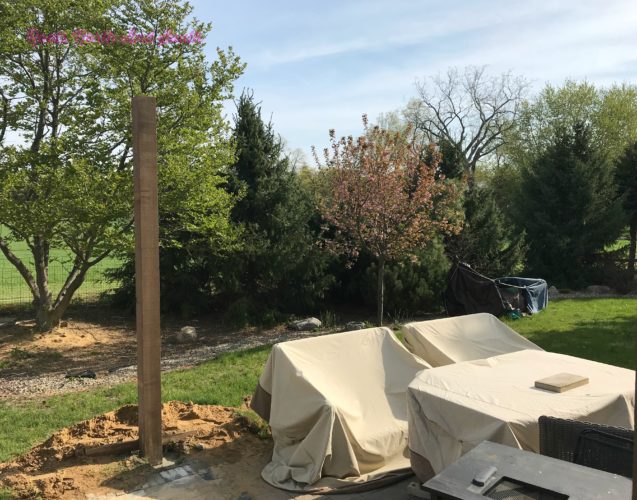
Memorial Day was only slightly more progress…
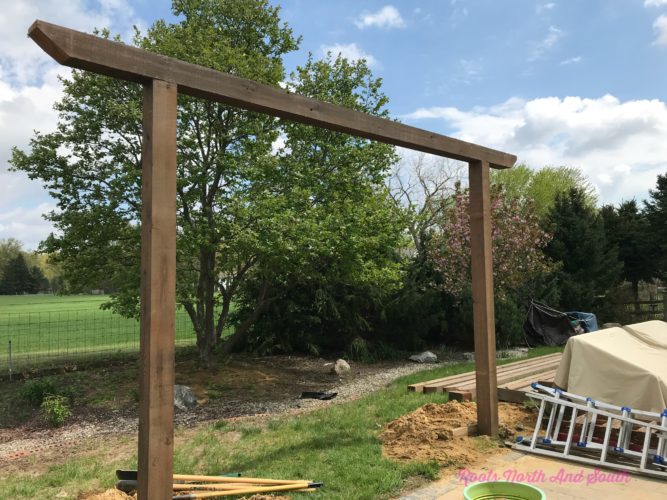
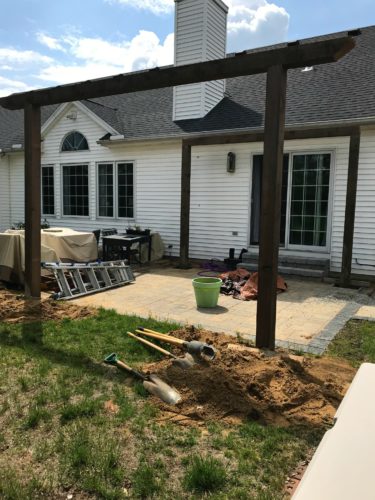
By Flag Day, my patience (which isn’t plentiful to start with) was gone. We threatened to bring in another contractor to finish and give the new guys our remaining payment.
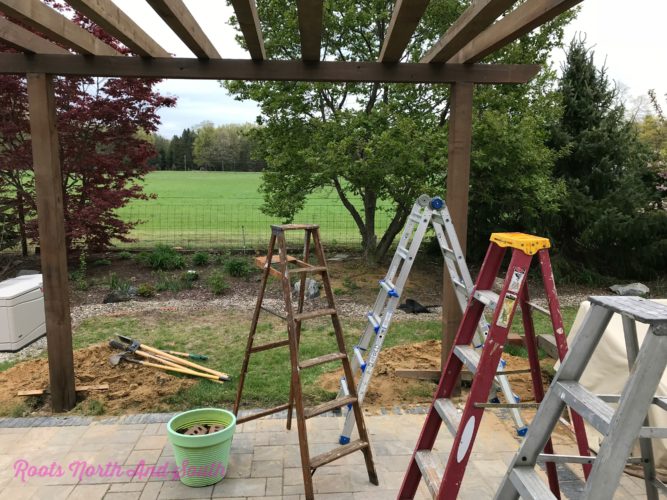
That seemed to work. We soon had a ladder convention going on and work kicked in to high gear…
Within a few weeks, things were mostly finished and we could move our furniture out and get the curtains up!
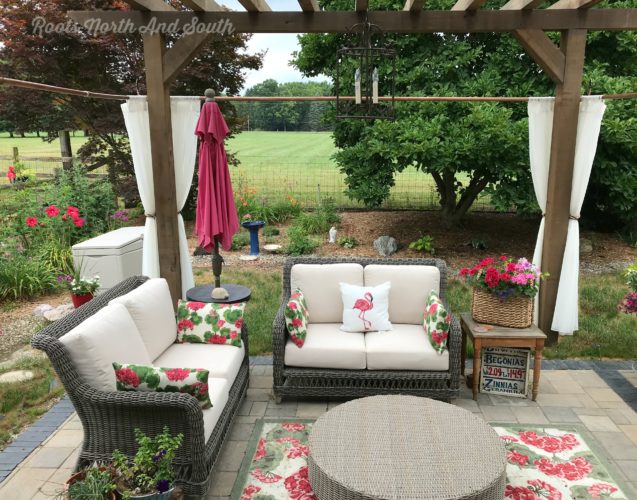
Along the way, there were a few challenges beyond the contractors’ vanishing act…
It sounds like those might be concerns some of you have, so I’m sharing our solutions.
Building a New Pergola: Details and Challenges
Question: How did we install the lighting?
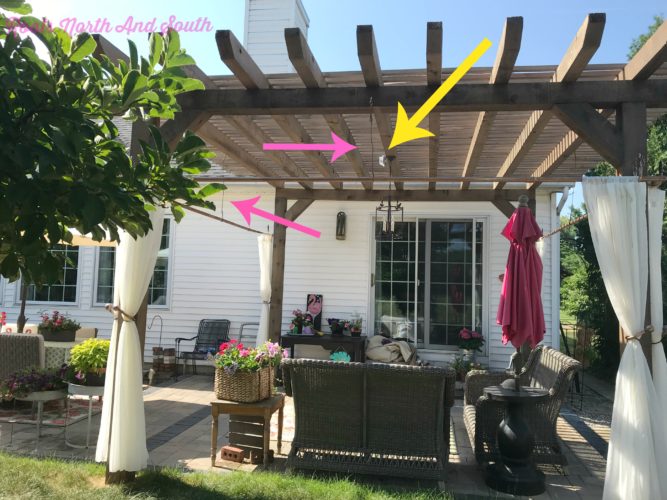
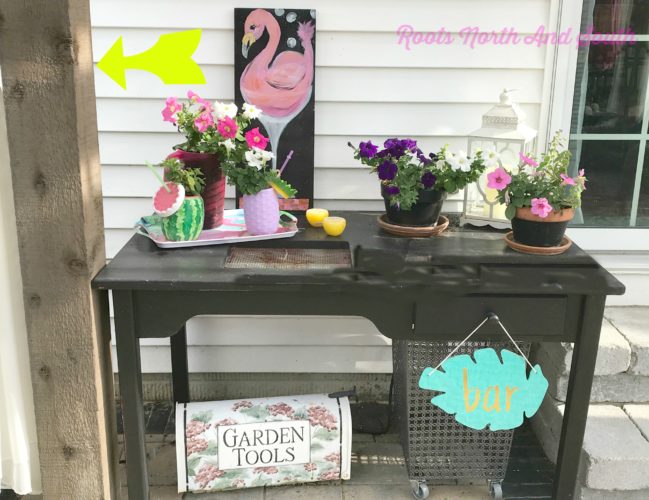
Answer: If you look at the yellow arrow in the photo above, you can see where the box is for the light. Our electrician had the good idea to set this up so we could unplug the light and bring it inside during our cold Michigan winters.
Here’s the scoop…
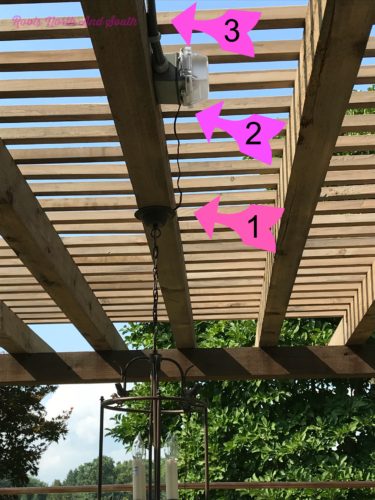
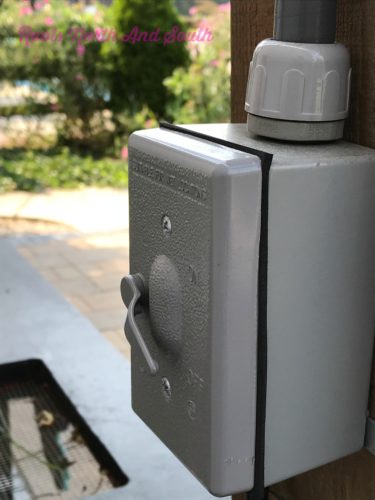
The lighting cord goes from the light fixture (#1) to the covered electrical box (#2) where it plugs in. Then the cord is covered under this conductor line(#3).
It’s almost the same color as the stain on the pergola so it blends in well. That goes across the beam to a corner beam that is in front of the outside electrical outlet on the back of the house. (The conductor is actually hidden behind the beam by the lime colored arrow in the photo below.)
What’s also nice is the electrician set it up so we can leave the light plugged in (the plug is located behind this table and not easy to get to) and just turn it off and on at a switch on the back of the beam.
Question: How are the curtains attached to the pergola?
Answer: Because the pergola is so wide, this one took a little creativity.
Here’s the scoop:
The rods are actually PVC pipe spray painted copper. They sit on what are really curtain tie backs turned side ways.
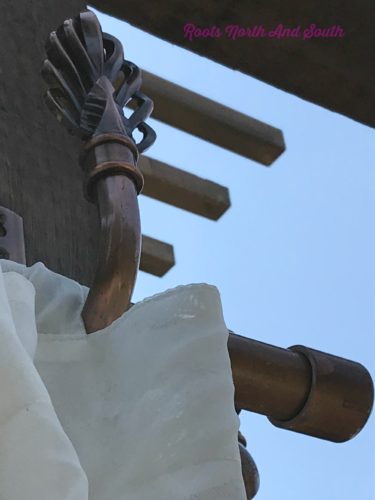
We added caps at the ends to cover up the fact that it is PVC.
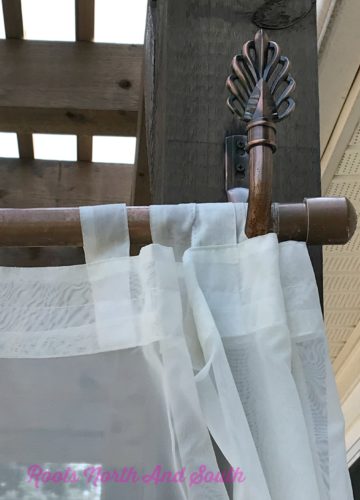
It worked out well except for the saggy middle…
(Sidebar: If only the solution for my personal sagging middle was this easy!)
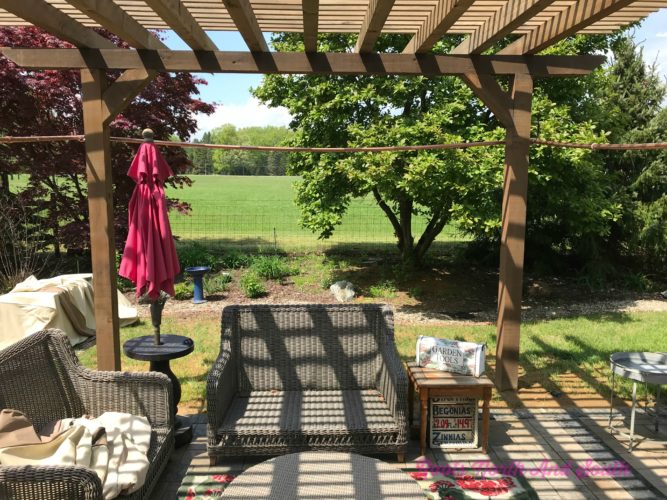
Here’s a close up view of the sag…
We thought we might run in to this problem since PVC is so lightweight and the pergola is so wide.
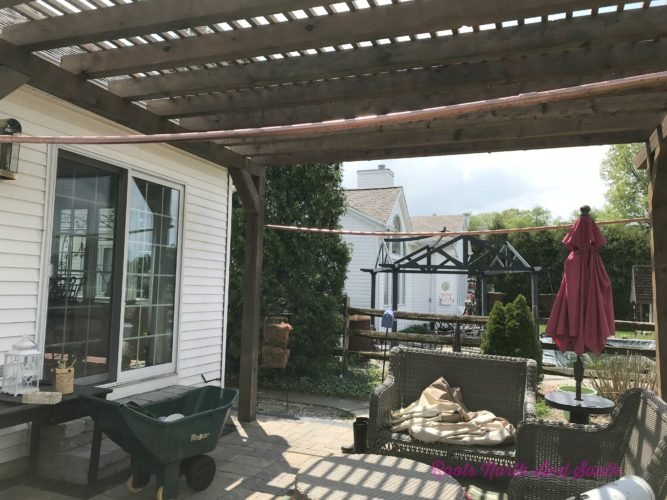
Our solution was to add copper wire in the center to hold it in place. Works like a charm while also adding a little charm to the rods.
We set it up so there is a small hook on the beam and the wire loops over that. That way we can easily take the rods down and bring them inside for winter.
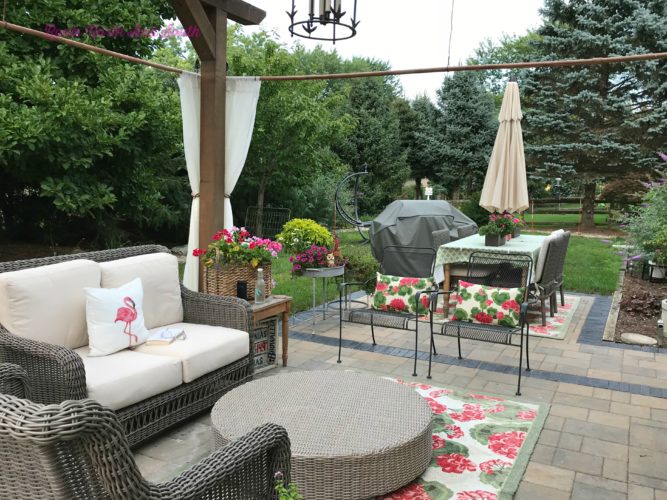
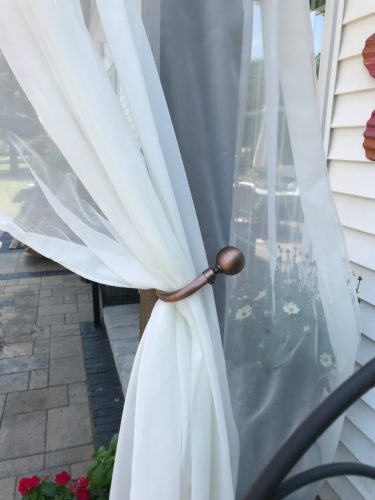
Then the last step was to install curtain rod tie backs that coordinated with the copper and hang the curtains.
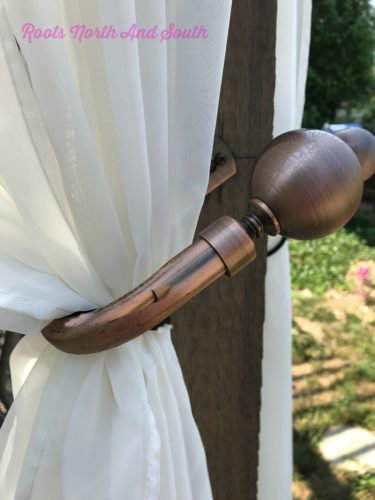
(Also note that I sprayed all of this with sealer after we applied a few good coats of spray paint. So far, no chipping or peeling.)
As far as the curtains themselves, these are just some inexpensive gauzy outdoor curtains. I wanted something just to soften the hard corners of the pergola.
Because of the way the house sits, the backyard is full sun from morning until dark. While the pergola knocked most of the sun down, one side is still a scorcher.
So next spring we’ll likely add a retractable screen of some kind to the west side of the pergola. That’s the side the pergola doesn’t seem to help shade.
Question: What kind of wood did we use and is it stained?
Answer: Because we hope this patio will last for years and years and years, we bit the bullet and sprang for a treated cedar. It’s definitely not cheap. So if you don’t think you will be staying in your house for a long time, there are less expensive options.
We used a good quality Sherwin Williams stain, “Woodscapes.” It’s a semi-transparent stain so it takes a bit more effort to get it to the color you want. Our pergola is stained in a color called “Harbor Mist.”
The good part about the stain is that even though it’s a bit pricey, one gallon goes pretty far. (Our whole patio took less than two gallons.)
Drop me a note with new pergola questions
While I’m far from an expert, I did learn a lot throughout this process. So if you have a question I didn’t answer, drop me a note in the Comments below and I’ll be happy to help!
And if you don’t already do so, please consider following me on Pinterest and Instagram. (I’m kind of off Twitter/Facebook since they mostly seem like places people go to fight about politics these days?)
Until next time,
Shelley


This is so pretty! I need to do something like this for my home!
Thanks, Amy! It really is a great place to relax…