Out with the Old Wallpaper Border
Trust me when I say ….
Over the years, I have removed miles and miles of old house wallpaper.
I have always loved the charm and character of old houses.
But said charm and character are often hiding under worn old old carpet and multiple layers of very unattractive and out-of-date wallpaper…
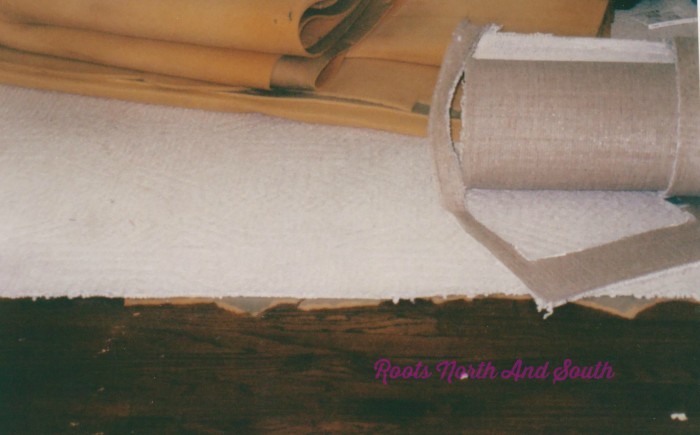
My poor little momma had the dubious honor of touring my home with me when it was for sale. She literally zipped through the house and was waiting for me back in the entry before I made it through the first two rooms.
Never a good sign when momma does that…
Before I first stepped inside I wondered why, in such a red hot market, the house was still for sale after 18 months…
Yikes! I soon discovered why.
If only these photos were so bad because they were taken in the pre-digital camera days.
Sadly, the interior of this historic old home looked even worse in person. It’s probably good for your eyes that these photos are so bad…
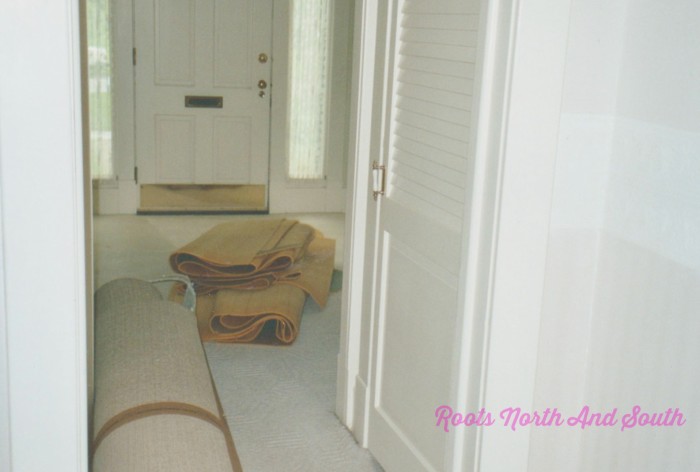
The lovely wallpaper below was even on the ceiling.
Yep!
In 2004 this was still part of a home’s decor….

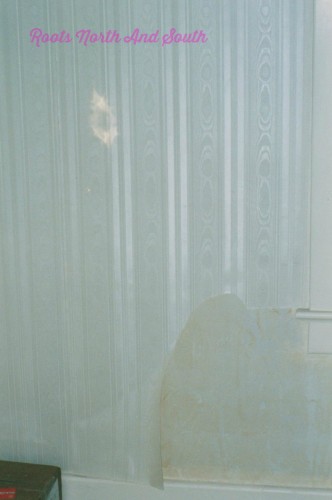
And the one below was everywhere in the main living areas of the house.
It had a rubbery texture and when you tried to pull it off the wall, it only stretched.
Ugh. The flash backs are giving me hives and a twitch in my left eye.
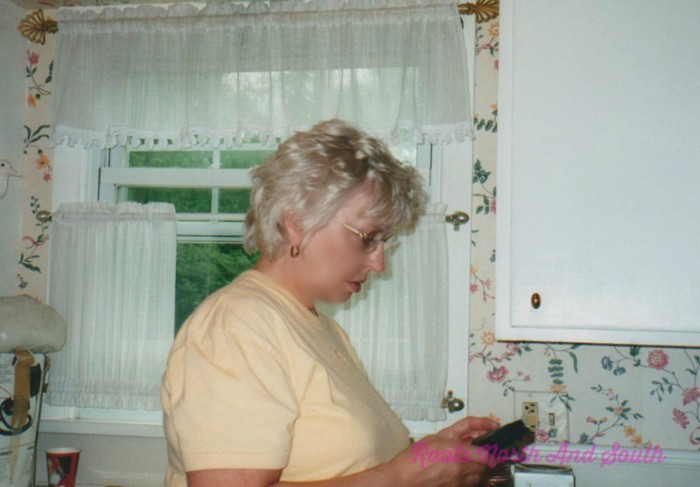
And this is my poor little momma in her “working girl clothes.”
She came down to help me tackle the kitchen. Pretty sure she’s texting Pops in this photo. No doubt telling him I had lost my mind in buying this old house.
And —yes–my friends that really is the kitchen she’s standing in. Floral wallpaper, fringe curtains, brass knobs and all!
You see why I consider myself an expert at wallpaper removal?
So here is what I’ve learned about taking down wallpaper after remodeling three old houses…
How to Remove Wallpaper in a Historic Home
I don’t consider myself to be an “expert” at too many things, but wallpaper removal is one of them.
Some people say vinegar and using a scoring tool, while others say Ivory soap in a spray bottle.
Neither has ever worked on the old houses I’ve renovated.
Maybe because I’ve always dealt with multiple layers of wallpaper? Or because the walls weren’t prepped well before the wallpaper was put up? Hard to say.
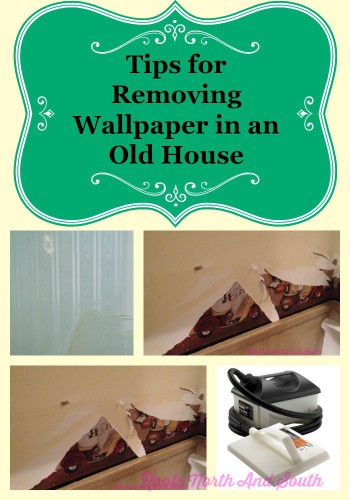
The tool I swear by is an inexpensive steamer. I use it in conjunction with a putty knife.
No formal or paid endorsement here, but I use a Wagner steamer. I’ve had it for about 15 years, and it’s gotten a real workout. I’ve taken down miles of wallpaper with it, and loaned it to many people who were redecorating. It was only about $50. And it’s still going strong.

Tips for Using a Wallpaper Steamer
This little beauty is super easy to use, but there are a few tricks to mastering it without melting your walls (ugh!) or burning your fingers or toes!
Here are the lessons about steaming off wallpaper I’ve learned the hard way…
- Steam is hot: Yep! I’m a real smartie, I know. But its easy to forget that when you get busy working on removing wallpaper. (On a side note, it does make for a nice facial!)
- Wear gloves: Protect your hands. Heavy gloves will prevent your little fingers from getting burned when the hot water runs down on to your hands. And it will…
- Wear shoes: I tend to work on some of these projects in flip flops. When you are steaming off wallpaper, that can lead to burned toes! Cover up those piggies, my friends!
- Cover up your electrical outlets: The steamy water runs down the wall and you don’t want it to juice your electrical plugs.
- Two-handed job: I found it is best to let the steamer sit on the wall for a few seconds so the steam can penetrate the wallpaper. So in my right hand, I hold the steamer in place and move it around on the wall. Then I use a putty knife in my left hand to scrape the paper I’ve just steamed. Once you get the hang of it, things go pretty quickly.
- Cover your floors: This is another lesson learned the hard way. I have tile and hardwood floors throughout my house. It didn’t occur to me when I first started using my steamer that the steam would reactivate the glue on the back of the wallpaper. So all those tiny little pieces of wallpaper I scraped were all over my floors…stuck there. Ugh. Lots of scraping to get that messed cleaned up!
- Removing the layers: The backing will often separate from the wallpaper when you are scraping it off. It’s not a big deal. A quick trip over it will the steamer and it will lift right off…
- Don’t get lazy: What I mean by that is, don’t leave the steamer in the very same spot for too long. At least in an old house like ours. I melted the paint under the wallpaper in a few places from doing so and maybe a little plaster in rooms that hadn’t been dry walled during previous renovations.
- Scrape with care: I’m a “get ‘er done” kind of gal so I tend to go all in. It’s easy to mistake walls for wallpaper backing and carve it up a bit.
And that’s it! All I’ve learned about removing old wallpaper and border…
Hope these tips help make your next wallpaper removal project a little easier!
Here’s a sneak peek at my little fat chef border coming down in the kitchen early this spring, and the color of the new cabinets.
As soon as our summer in northern Michigan wraps up and we head home, my number one goal is to finish the kitchen facelift. I thought it would be a quick project on a snowy weekend in…February.
You know how that goes right?


XXOO
Shelley


Leave a Reply