Don’t you just love those little boxwood trees you see all over at restaurants, gift stores and everything in between this time of year?
I know I do. But at $40 and $50 (or more!) a piece, they can be a real budget buster.
So I decided to tackle making a few for this old house this year…
Truth is…they are super easy to make!
My favorite, super fabulous flower shop was sold last year. The new crew just doesn’t have quite the same “knack” for things the old one did. Fortunately, I found a new one that (knock on wood) seems to have some sizzle. So I asked them to order up some boxwood branches for me.
While it is still a little on the pricey side, I made two trees plus had enough left to add some to fall centerpieces I made for my little momma AND my Christmas window boxes with the two pounds of cut boxwood I ordered.
That’s how boxwood is sold around here…by the pound. (I would be worth a fortune if that’s how my value was measured, too!)
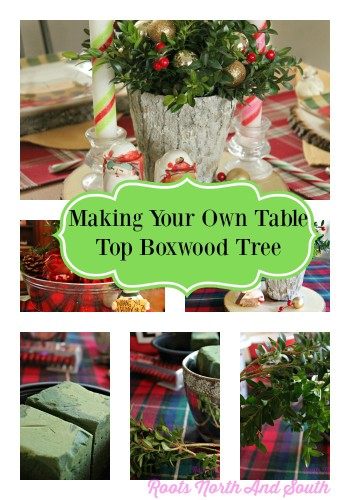
Tricks for Making Your Own Boxwood Centerpiece Trees
So here’s the scoop…
Grab a few containers that you want your trees to live in along with soakable florist foam, some nippers and any little ornaments you might want to add.
And –of course— crank up the Christmas tunes! I found this great jazzy, bluesy CD at this great Fair Trade store I love so it was my boxwood making music during this fun little project.
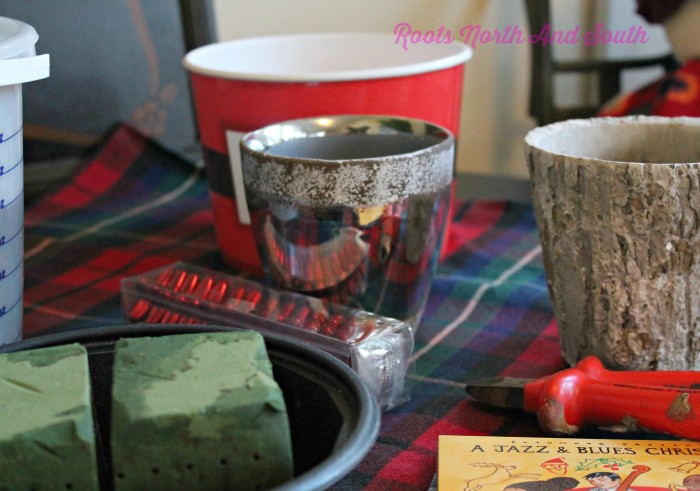
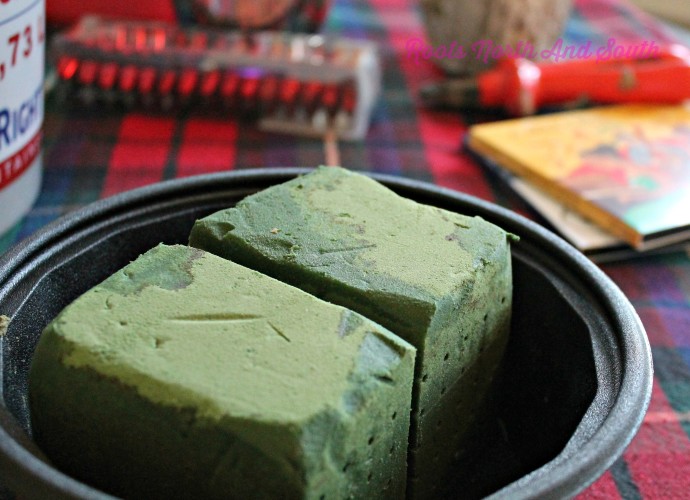
I have a black plastic bowl I use for soaking my florist foam in.
This old house is sooo dry that I usually soak the foam in water overnight to make sure whatever I’m arranging gets off to a good start!
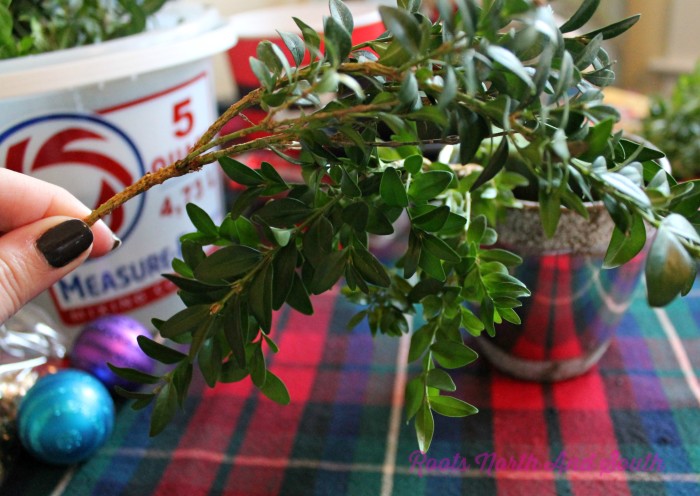
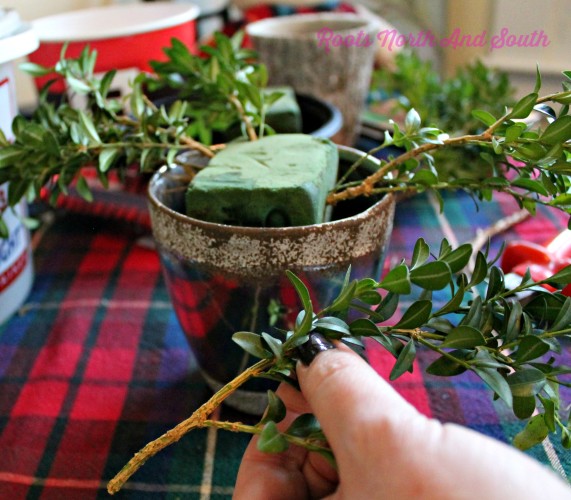
One trick I’ve learned from so many years of using greens in my window boxes during the holidays and winter is to shake each stem/branch to see how it naturally falls.
Like this one below was heading down…
That shape makes it great for the base.
Next was a trial and error kind of process I hope I can save you some time on…because I did the error part over and over trying to get this right!
The bigger you want your tree to be, the longer and fuller the very bottom branches need to be.
The trick I found was to gently lay two starter branches about the same length –one of each side– across the base. Just enough so you can eye ball and visually map out how big branches that size would make the tree.
You want to be careful not to push and pull too many branches in and out of the florist foam or it will start to degrade.
So map out which branches you want to use for each spot before you start stabbing!
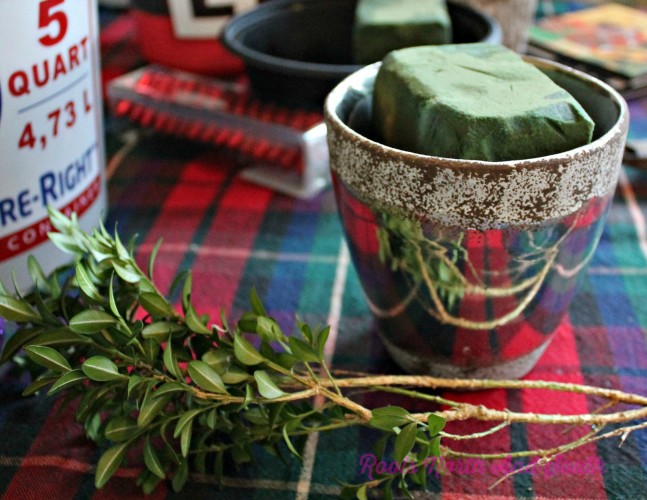
To help keep bacteria from building up in your foam, peel the greens that will go in to the foam off. Leave just the branch.
In the immortal words of Meghan Trainor, from there on out, “it’s all about that base…”
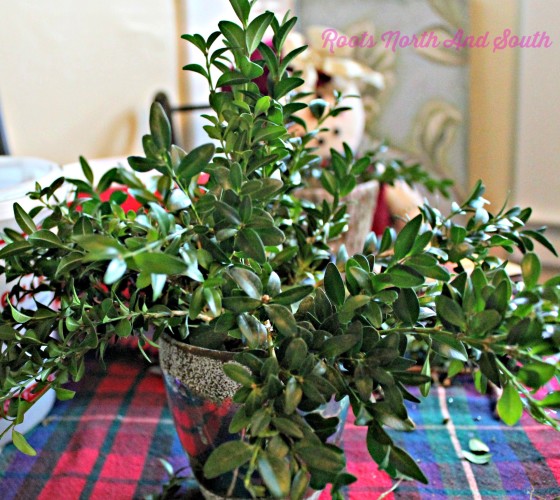
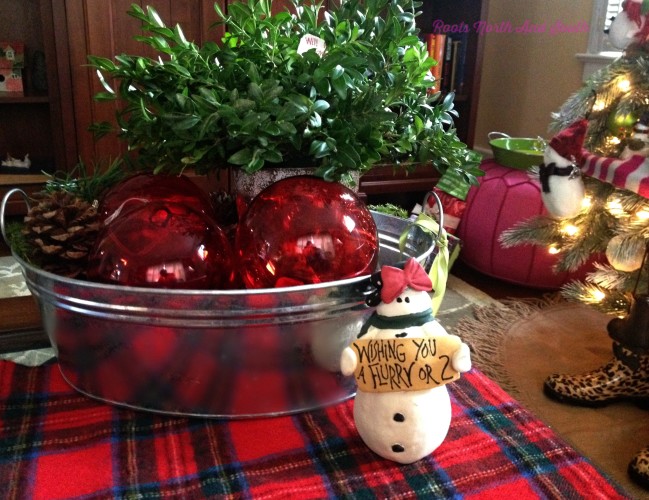
I decided for my fancy pot, I wanted the tree to be a little bigger and wilder.
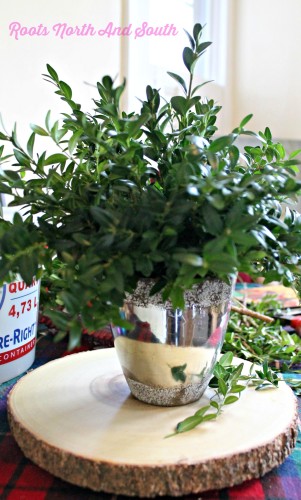
Home will be inside this silver “bucket” so I placed it inside to do my final trimming…
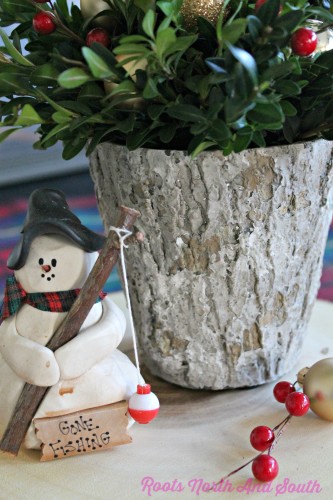
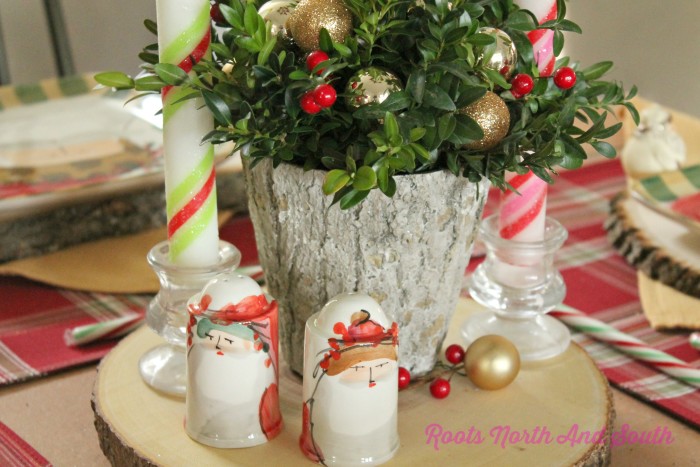
Then for my tree bark pot, a little smaller. Since it will live on the dining room table, I didn’t want it to take up too much room.

The great thing about using boxwood for a centerpiece is that it is so forgiving.
A few snips here and there and you can create any old shape you want!
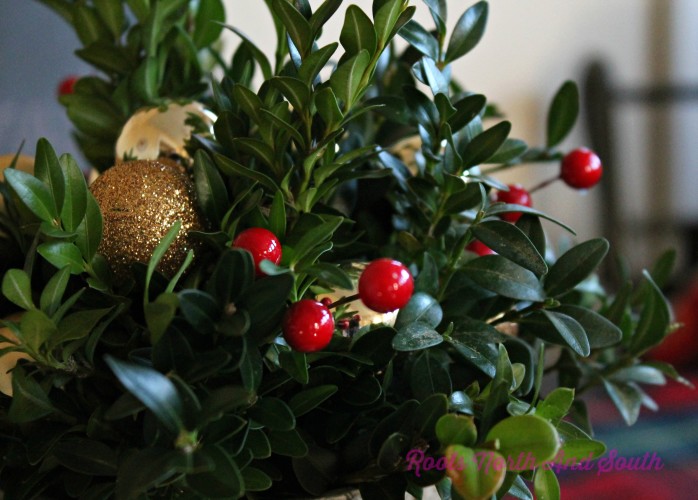
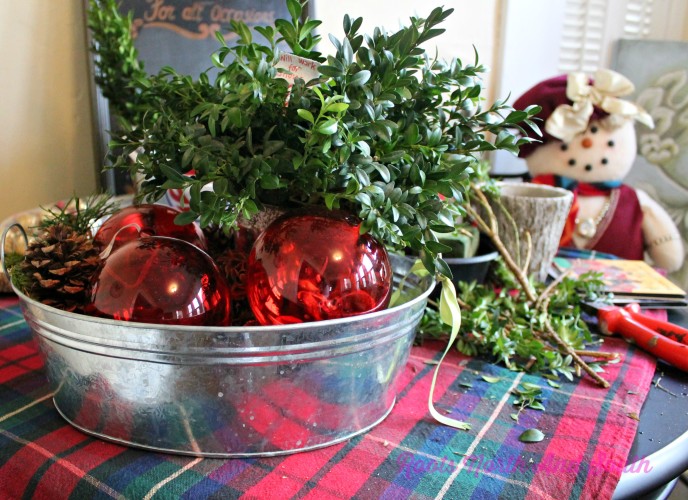
Accessorize them with a few fun berries and ornaments…

Super easy right?
And I just saved myself some cash to spend on other fun things like more Vietri Old St. Nick dishes!!!
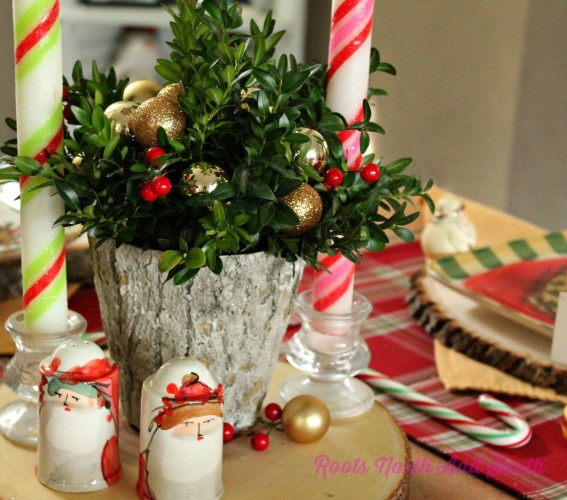
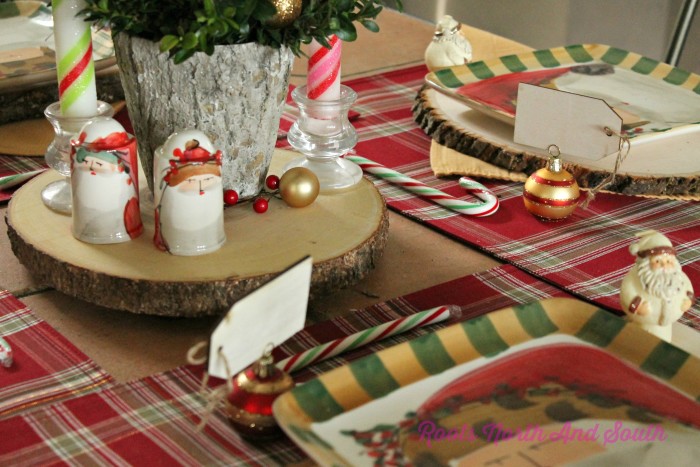
Peek at my Christmas Tablescape
I’m working on how to use my little tree bark boxwood tree in a Christmas tablescape… still a work in progress but here’s a peek!
One final tip is to keep the water coming! My trees are about 10 days old and they still look super fresh because I keep them watered well.
I hope you have fun with this project if you tackle it!
And I also hope you will stop back in for a visit.
Over the next two weeks, I will be part of: a Virtual Cookie Exchange (lots of my blogger friends sharing their favorite holiday cookie recipes!), a Country Living “Home for Christmas” blogger tour, a Christmas Tree Hop, a Holiday Home Tour, and an Appetizer and Dessert Tour.
Sheesh! I best stop yaking and get to work right?
The easiest way to follow along on these great holiday tours and blog hops is to Subscribe to my blog! You will get a notice delivered to your mailbox for each fun event…
XO
Shelley


This is a fabulous tutorial. I love all your little trees you made and that bark pot is the cutest pot I have ever seen!
Thanks Susan! I went in to the flower shop to pick up the shiny silver pot and came out with it and the tree bark one. Just love it!
Wow you did a great job! Boxwood is so classic! My dad made trees for years,and later in life he always made a boxwood wreath for his neighbor. Nice memories!
Thank you! They were fun to make. Sounds like your Dad thought so too 🙂
They turned out great!
Thanks Pamela! Glad you stopped by…