Project #1 at Our New House: The Dining Room Gets a Makeover
It is so exciting for me to finally be sharing one of the many projects we have in the works at our new house!! I’m feeling a little like I’ve developed a case of ADHD since we bought a house that needed so much work.
So this is what our dining room looked like when we bought the house…
Electric blue carpeting (yep – you read that right!) and worn white walls. It made the room seem colder and much smaller than it really is.
The original plan was to use this as my office and convert the living room in to a dining room.
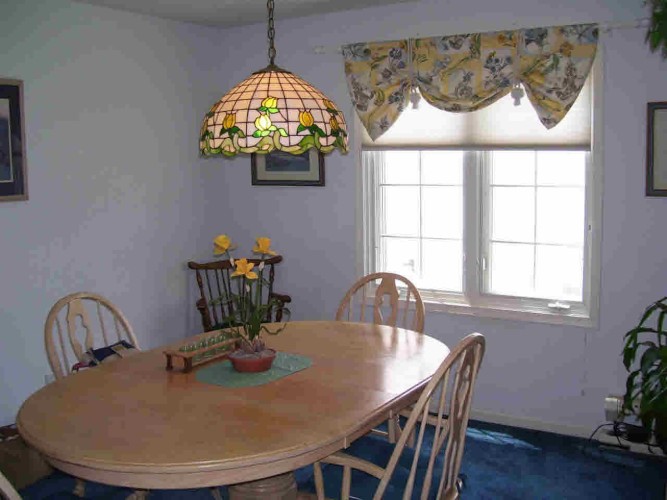
The previous owner asked to take all of the electric blue carpeting, as it was a recent addition to the house. Obviously, that was fine by me.
Once we got the key and were able to get in to the house and see the room without the blue carpet, we realized we actually had more space to work with!
So we decided to keep the dining room as a dining room and give it some love and character.
Starting with new hardwood flooring. (I’ll share more details of the hardwood floors and how we chose these in a later post.)
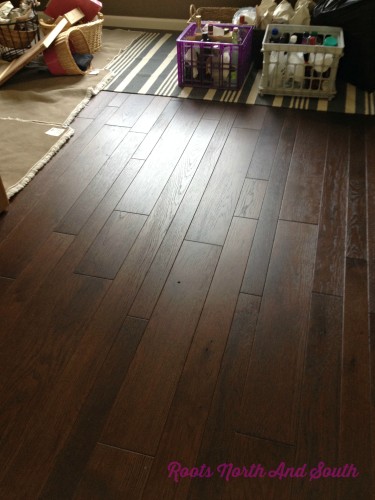
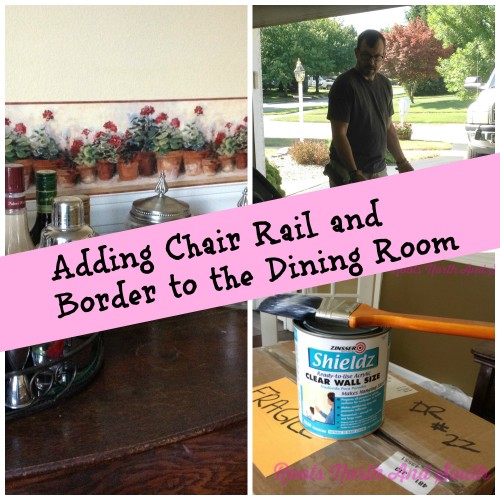
Adding Chair Rail to the Dining Room
Then we moved on to paint with the intention of then adding chair rail and a border…
If you haven’t done this before, it is a quick and easy project.
We actually use moulding instead of the traditional chair rail because it has more detail. One tip is to be sure the moulding is flat on the back so it lays…flat on the wall. (And most of them aren’t flat so keep your eyes open folks!)
I prefer to have my chair rail and border sit slightly lower than the center of the wall. But I know other people like it to be exactly at the halfway line.
Whatever your preference, you will need to use a chalk line or laser line and pencil to mark where you want the top of the bottom of the chair rail to go.
We do it before painting since I like to do one color above the chair rail and one below…
It helps to lay everything out so you can make lines for the chair rail and border.
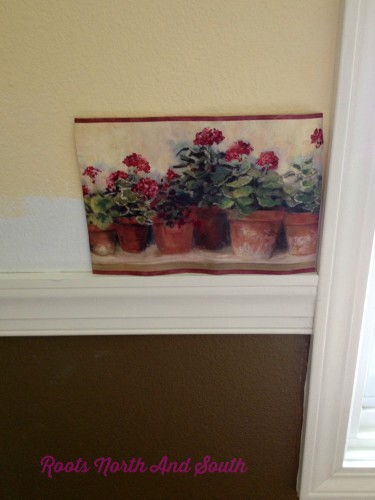
Moulding typically needs more than a little TLC… sanding before you can prime and paint is a necessity! That’s my job.
My favorite paint for trim and chair rail is Sherwin Williams Dover White. And I like it to be glossy!
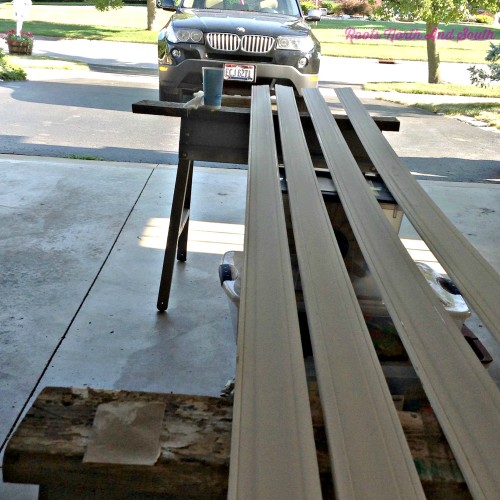
It’s a quick process really…
Then the guys take over because ain’t no one in my family who trusts me with a power saw…
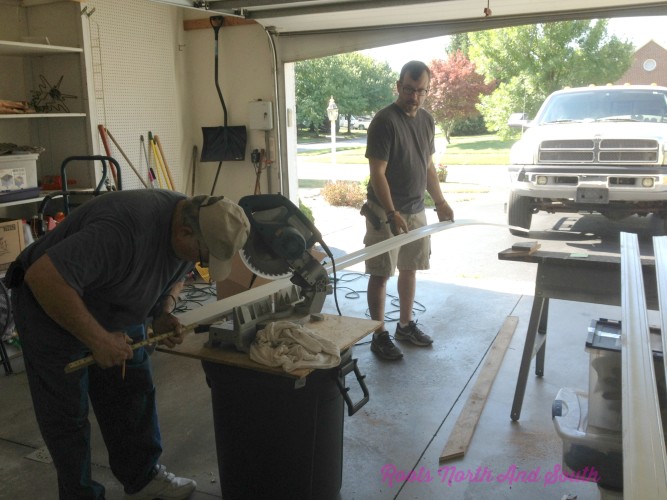
You’ve probably met “Pops” if you’ve visited my blog before. There is nothing he can’t do or fix. Since we bought a house in the Great Lake state, he is only minutes away.
(And between us y’all... I think he’s probably wishing he weren’t so close right now. While our house is newer, it hadn’t been maintained very well for some time. We fix one thing and find two more things that are broken. I’ve made a lot of SOS calls to him this last month.)
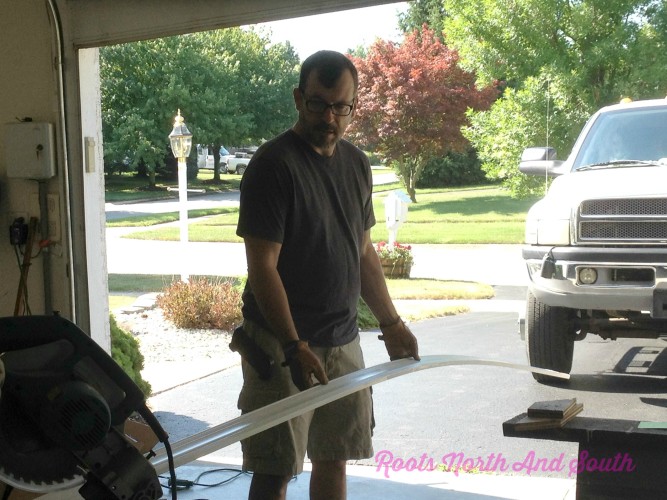
Mitering the corners is the trickiest part.
We make sure to measure each wall a few times and then to be conservative on the cuts.
Better to have to take a little more off than to take too much and have to piece wood in or start over with a whole new piece of wood.
This great article from Bob Vila can help you if you aren’t sure how to miter.
After it’s all up and looking pretty, Pops goes back and sinks the nail holes.
Then I’m up again to fill them in with white putty.
Once that dries I sand those tiny spots and touch up the paint again.
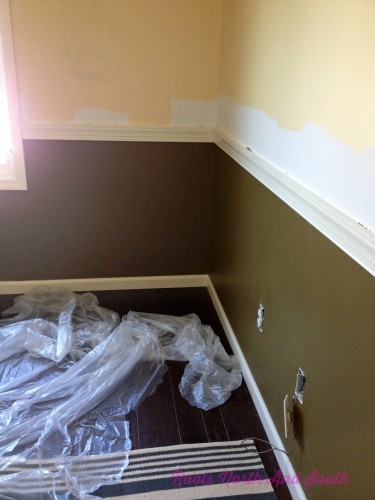
The Dining Room Gets a Border
Next up is sizing the walls before the border goes up.
This is my favorite sizing. My little momma and I have hung A LOT of border over the years and we’ve tried them all. I do this the day before we hang the border.
Don’t forget to get the “Clear” sizing so it doesn’t show on the wall after it is dry.
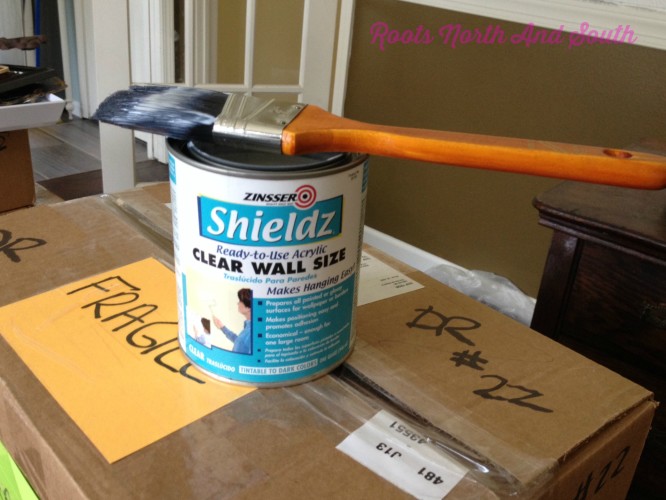
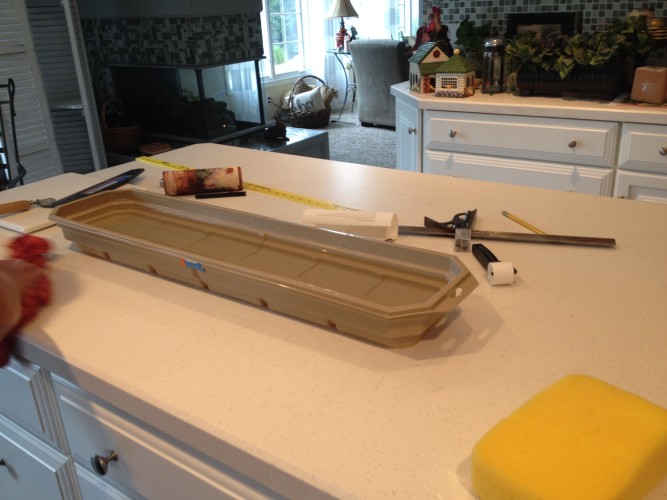
We set up and worked on the island in the kitchen…
Our system is to measure…use a T square to mark the spot we need to cut on the border… then hold it up to the wall before we cut to confirm we measured right…and finally making the cut!
The cut piece of border has to soak in warm water for 5 minutes to activate the adhesive on the back…
Once it is carefully in place, we each work with a large, damp sponge to smooth it all out and get rid of any air bubbles.
New Character in the Dining Room
And here’s the final result!
We couldn’t love it more…
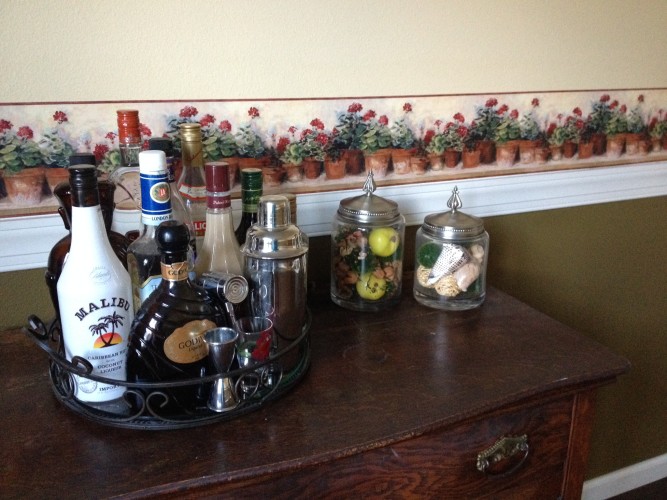
And that vintage chandelier you see hiding in the picture below?
Yep… as soon as the farmhouse table we are having made arrives, it will be going up!
We’re also adding burlap curtains with some fun fringe at the bottom and a leopard rung.
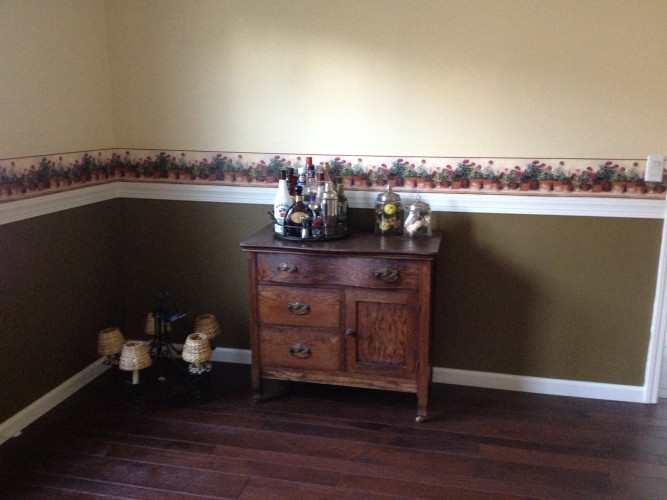
Long Weekend Dining Room Makeover
So with a little paint, paste, sanding, sawing and cutting…
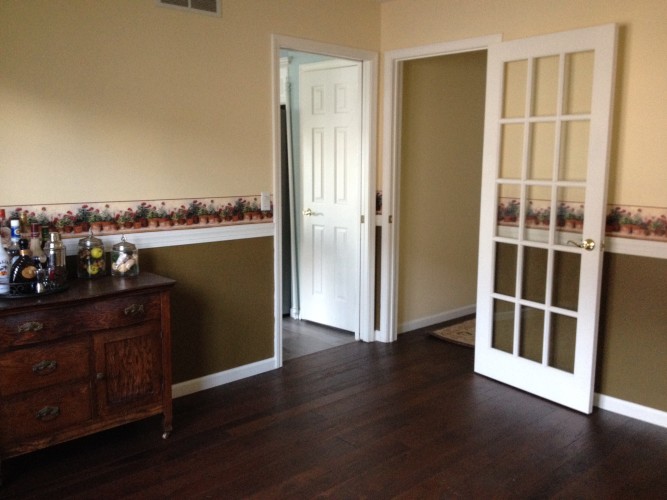
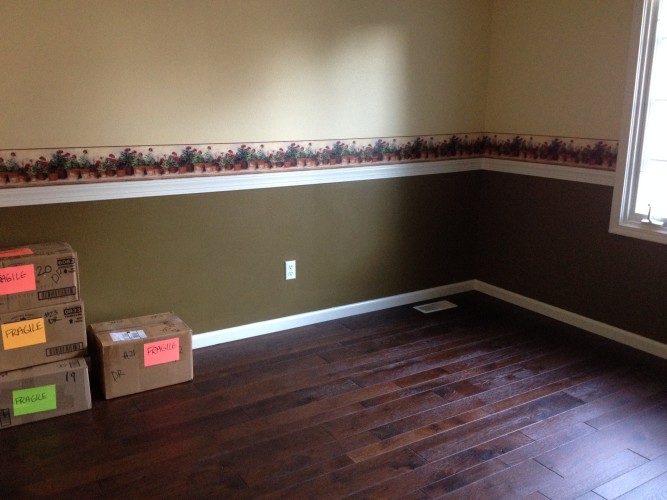
Our new dining room went from this

to this warmer, more inviting space!
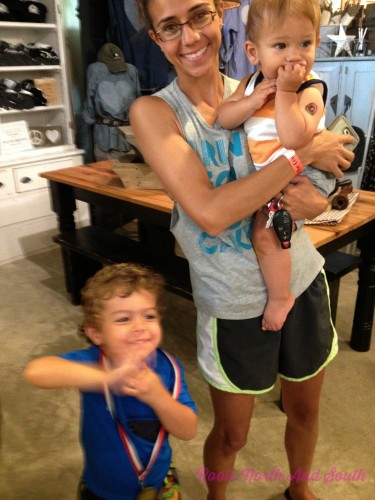
And here is a sneak peek at our farmhouse table in the works! (Right behind my beautiful cousin and her sweet little boys!)
I’m heading over to the studio this week to match stain for the table top to our flooring…
I apologize for my photos friends…
In the midst of our moving madness I packed my good camera. And haven’t yet located it…
So these are taken with… my old iPhone 4s. Yes. I still have a 4s.
As always… Thanks for stopping in to visit Roots North & South!
Please Subscribe to our blog so you can receive these fun updates each week. Pinky swear– we never sell or share our mailing list.
XO
Shelley
Please “Pin” this image and any others on this page so you can find us again!


Love the new hardwood floors! Did you find your table at Butter Barn antiques? (I was there last week! Kinda looks like the Barn from the photo!)
Yes! Mary Rose, it is Butter Barn. Amy (the owner) and I grew up down the street from one another. I’m going over there later this week with samples of my floors and she is going to match them with a stain for the top of the table. Can’t wait!! I’m hoping to do a Butter Barn “Behind the Scenes” post soon.
Wow! Can’t believe the transformation in that space. You have such a great eye for color. Can you do house calls to northern CA?
Haha. I would LOVE to make a house call to Northern California! It is one of my all-time favorite places to visit. Thanks for stopping by, Melissa.