Howdy friends….
Are you hip deep in holiday prep?
I always feel more than a little overwhelmed this time of year!
Since I started blogging last year during the holidays, its become an even crazier season…
In order to have our halls decked and photos taken to share, bloggers need to start early. For us rookies, the learning curve is huge!
Avoiding the Holiday Comparison Monster
I already find myself looking at other bloggers’ sites and comparing my little rookie blog to them.
I’m trying not to but… you know how it is right?
Even though I know many of them have Photoshop photos on their blog (which I haven’t even attempted yet) and assistants and crews to help, the comparison monster takes over.
So I wanted to share this little diddy I found. I think us chicks can all appreciate this most any time of year, but especially during the holiday season.
Because – let’s face it gals – not too many men out there losing sleep over getting all the gifts bought and wrapped, cookies baked, and halls decked.

Planning to chant this to myself all throughout the holiday season…
And now on to my real post for today!
Quick and Easy Pottery Holiday Gift Tags
Somewhere during the holiday season last year I had a few nice folks email me about how I made the pottery ornaments/tags I had on a presents that were in photos of my holiday tour. (Which have since been removed because my photography skills were so bad…)
They are super quick and so easy to do. If you are looking for a project to do with the kiddos, this is it!
Because I have access to a pottery studio, I use real clay. Typically I like red clay for this but white is pretty too.
If you want to do these entirely at home, however, I think Sculpey would work just fine. You can get it at Michael’s or any old craft store near you. The good thing about Sculpey is that it comes in lots of colors and you can bake it right in your own oven!
Here’s what you need:
Clay (duh right?)
Rolling pin
Cookie cutters
Something pointed to cut the clay or sculpey with
Tray to put your beautiful creations on
Small sponge
Rubber tip tool (or dull pencil)
A disclaimer on my photos…they are all taken on my 100 year old iPhone since we can’t do cameras in the pottery studio.
So my apologies for the photos…
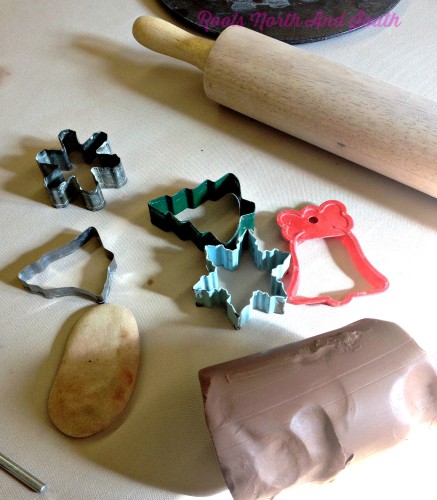
So let’s start with a bell tag/ornament okey?
I usually just trace the outside of the ornament and then use my needle tool to go back and actually “cut” it out. It’s easier than trying to dig the clay out of the ornament without messing it up.
Scalpel! I always feel like I should shout this out like a surgeon does…
Then I use the rubber tip tool (or a dull pencil will work just fine too) to add some interest.
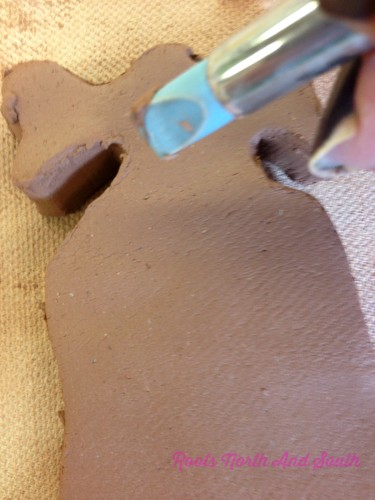
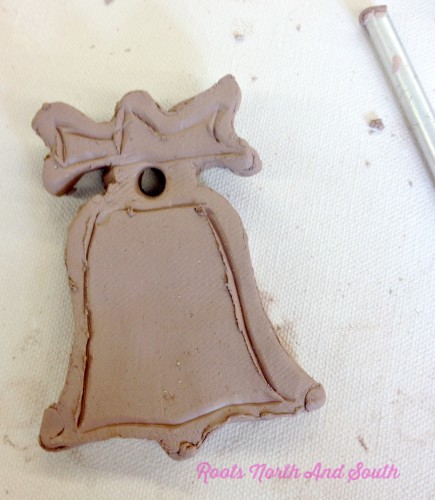
After that it’s a matter of clean up.
A slightly damp small sponge will work if you don’t have a burnishing sponge like I’ve shown in the photo above.
Just don’t overdo it on the water!
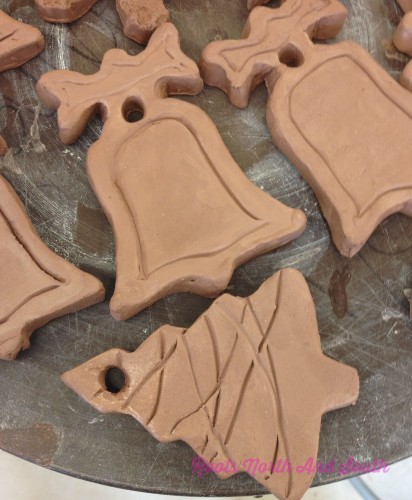
I followed the same steps for the trees.
Just remember… you will need to add a hole for the ribbon before the clay is baked…Yep. Lesson learned the hard way when I started my first pottery classes two years ago.
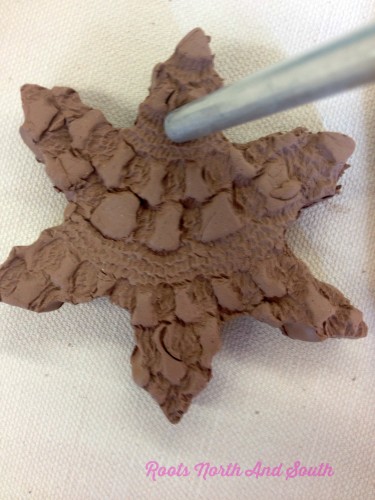
Do a final clean up of the edges and you’ve got yourself some fun tags to decorate gifts or your Christmas tree with!
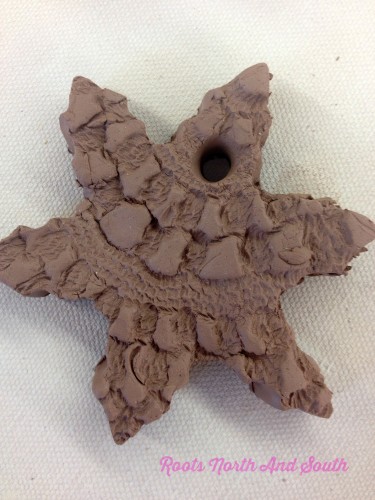
You might have noticed the star above has some fun texture to it…
It is so easy to add that!
If you have a few doilies you don’t mind messing up, they are the simplest way of adding texture.
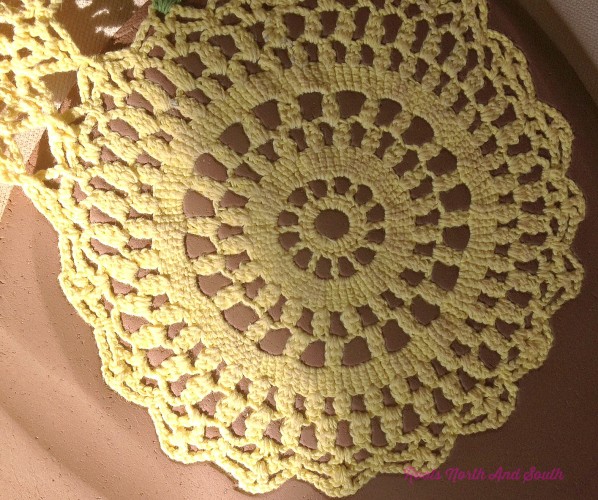
Roll your clay out… press the doily firm on to the clay… and use the rolling pin to roll right on over the doily.
You will want to really press that baby down to get good texture…
Then you pop your cookie cutter on top…trace and cut like you did for the plain ornaments above.
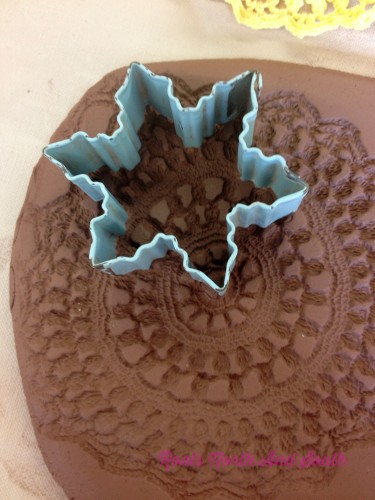
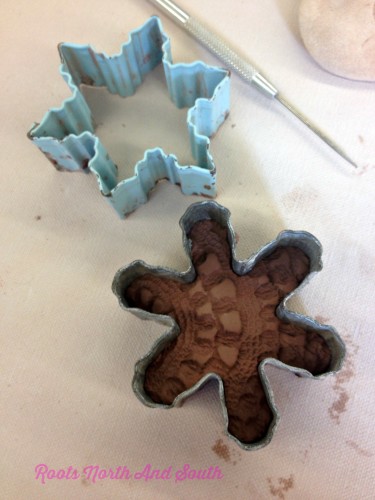
And clean ’em up!
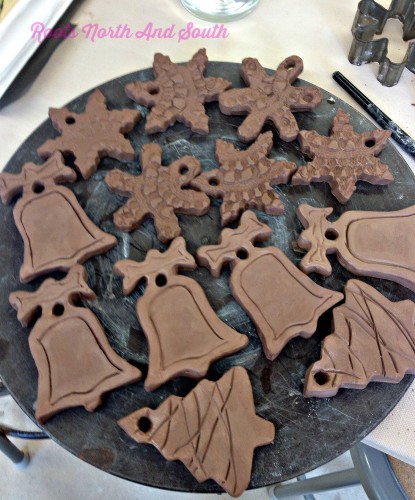
I’m going to low fire mine and then add glaze before I high fire them. Hoping to wrap that up yet this week.
If you are doing this at home — especially with little peeps — you can use acrylic paint to have them make very colorful creations!
Fun stuff right?
I hope you and your crew enjoy this!
XO
Shelley


Leave a Reply